OpenIDM User Self-Service
Table of Contents
In this article, going to explaining how to enable to OpenIDM User Self Service. The user himself able to do profile activity operations such as Create an Account, forgotten username, forgotten password, change password, update profile, update security questions, update subscriptions, social login, etc..
Before this, we need to install OpenIDM. Click here to install OpenIDM in your system. Click here to see the OpenIDM installation summary.
OpenIDM Installed Details
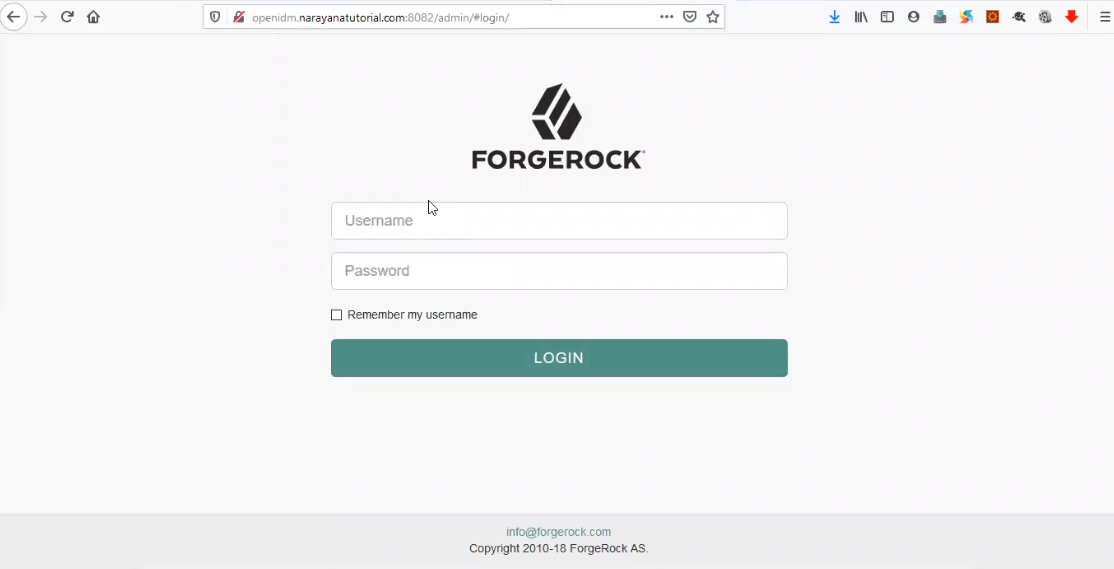
Admin URL; http://openidm.narayanatutorial.com:8082/admin
Default Admin Username: openidm-admin
Default Admin Password: openidm-admin
Self-Service URL: http://openidm.narayanatutorial.com:8082/admin
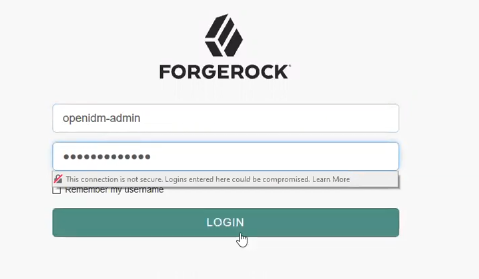
By default user self-service not enabled, so we need to enable it by login into the admin portal using admin credentials.
Go to -> Configure -> User Registration
Enable User Registration
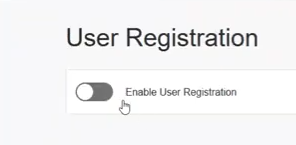
Enable-User-Registration
Configure Registration Form
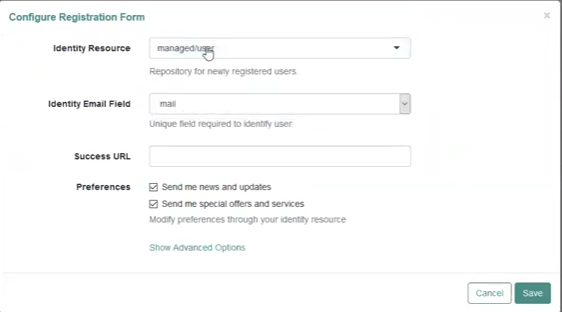
Configure-Registration-Form
Preferences are optional, even user after registration, preferences will be modifiable. Click on Save.
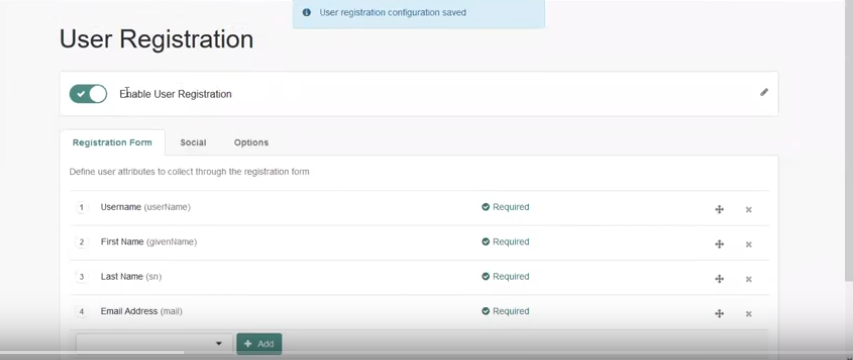
User-Registration-Saved
Once saved, then access the self-service URL in the same browser tab or New Private Window ( Firefox ) or new Ignition Tab ( Chrome )
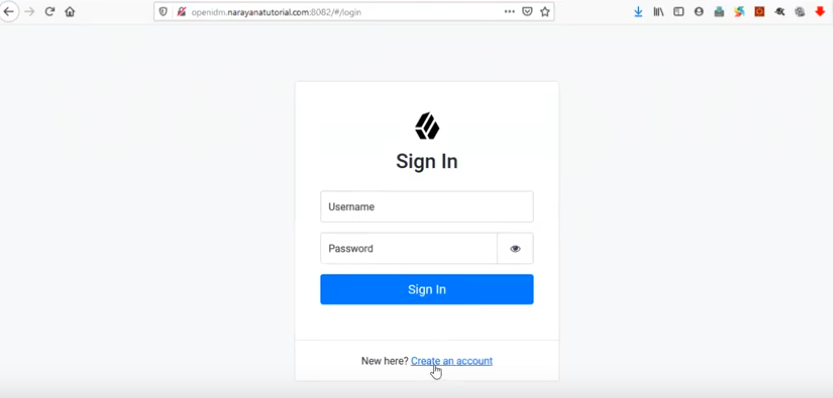
Self-Service-Login
Here you can see New here? Create an account, the option will be disabled if you disable User Registration
Click on Create an account
Create an account
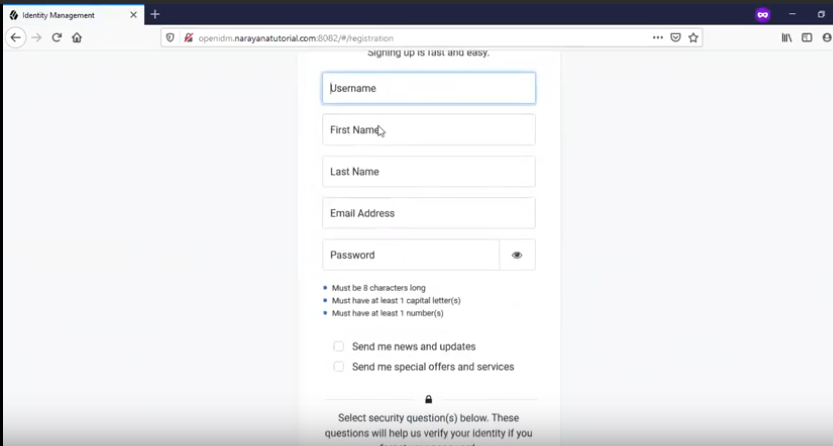
User-Registration-Form

User-Registration-Form-2
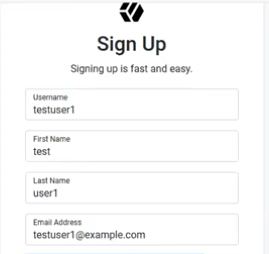
User-Registration-Form-3
Enter all required fields and click on Sign Up, and you will be logged into self-service portal.
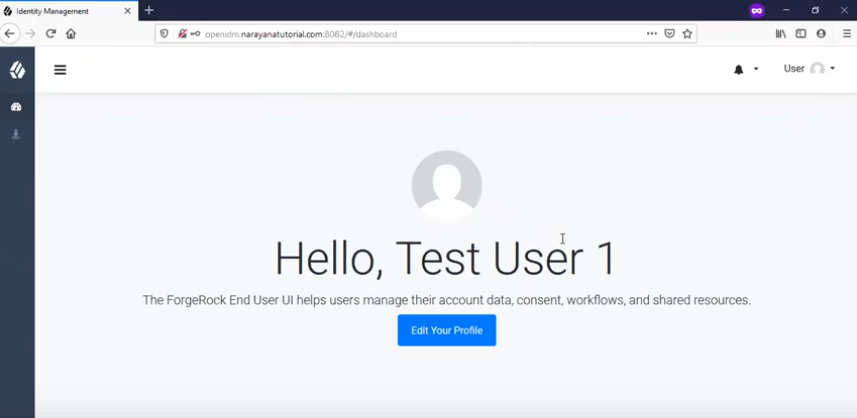
User-Logged-In
Registered User List
To see the registered user list, login into the admin portal, go to Manager -> User
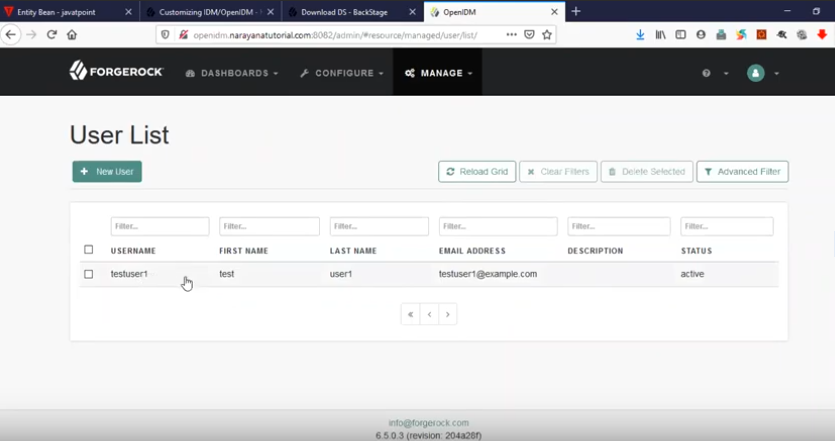
Registered-User-List
Here we can perform create New User, View User, Modify User and Delete User
New User
Click on New User to create a new user
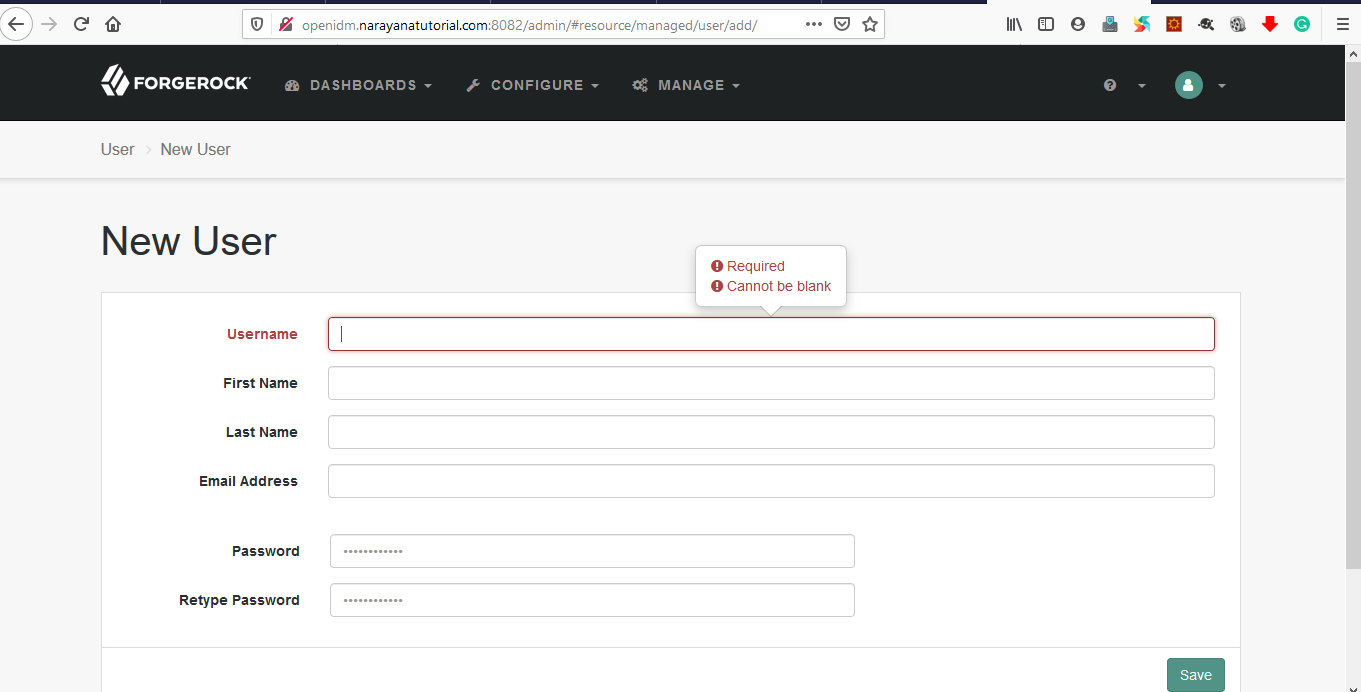
New-User-Create
View / Modify User
Click on a user to view details and to modify
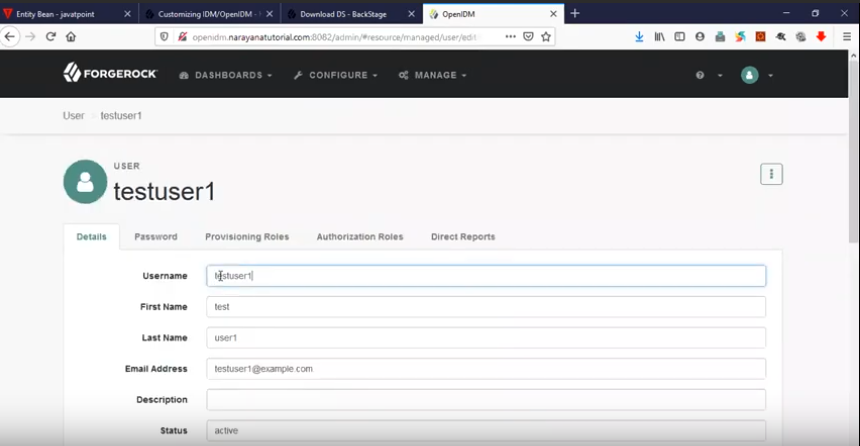
View-User-Details
Delete User
Click on the right corner 3 dots( ![]() ) to see the delete option to delete the user.
) to see the delete option to delete the user.
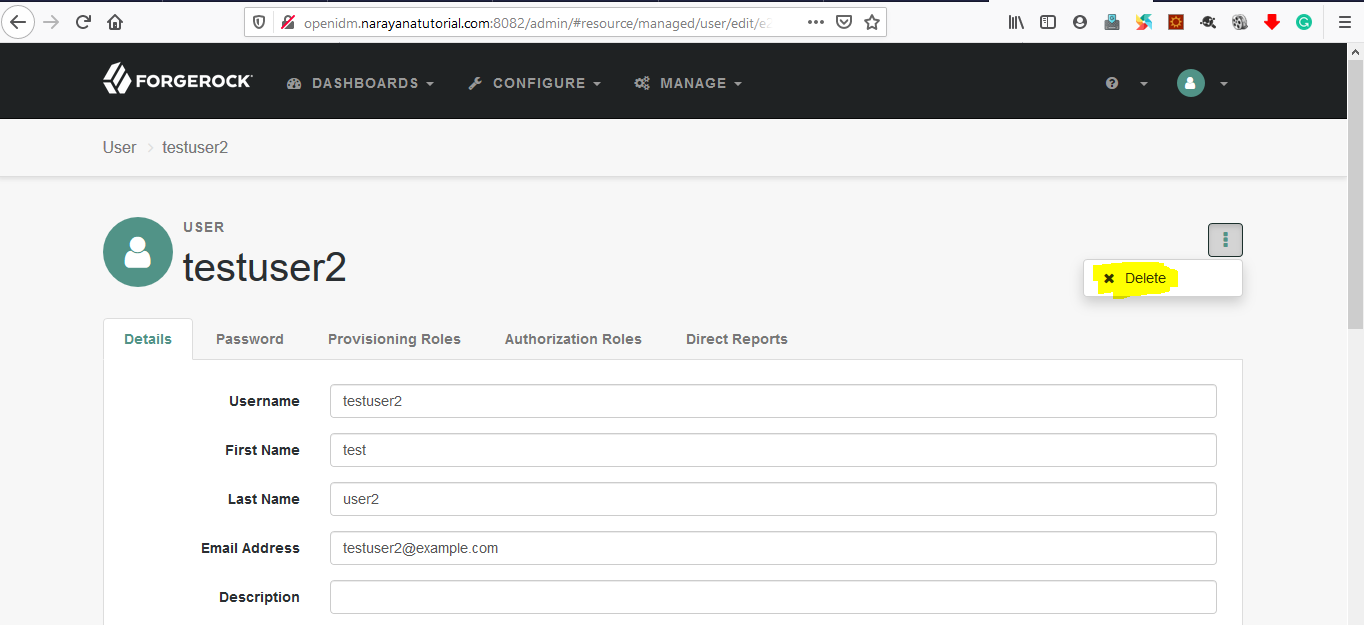
User-Delete-1
Click on Delete, will get confirmation popup window and click on Ok to confirm delete user.
Forgotten Username
go to -> Configure -> Forgotten Username
Enable Enable Forgotten Username Retrieval
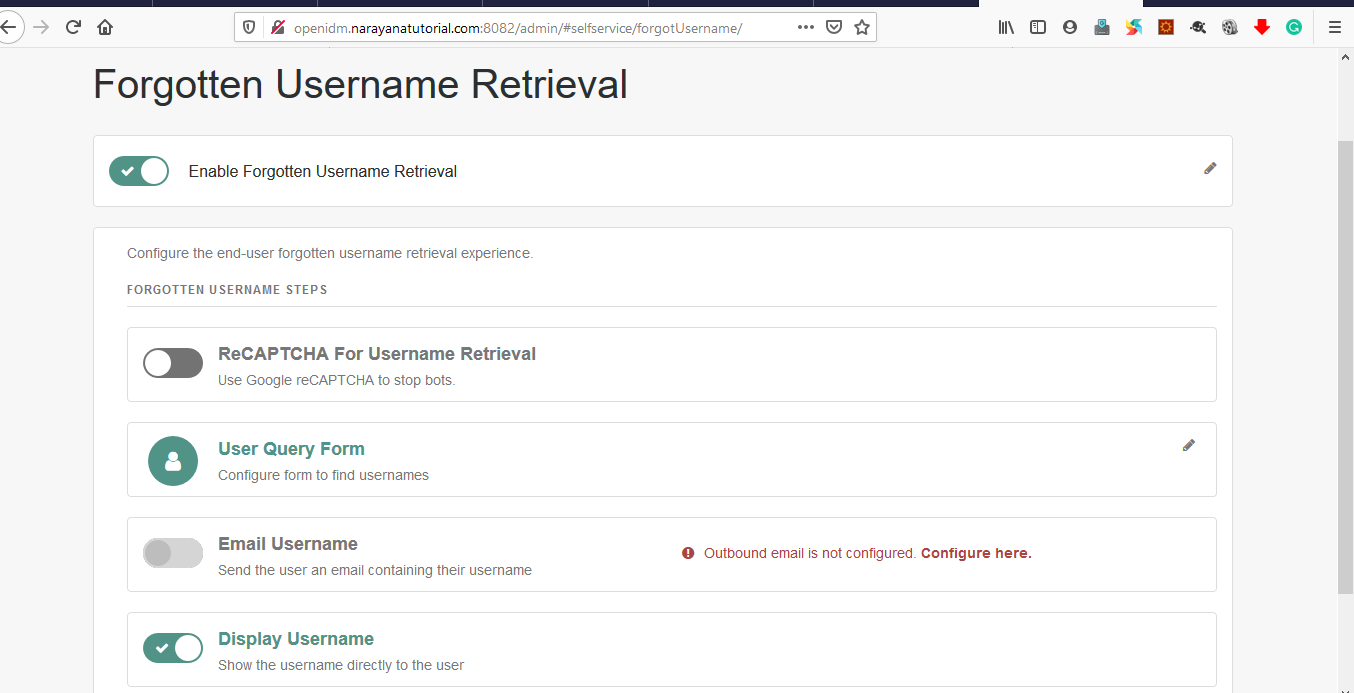
Forgotten-Username
reCAPTCHA for username retrieval: Before enabling this we need to configure any of the reCAPTCHA providers. Google reCAPTCHA configuration will be explained in the next article.
User Query Form: Configure the form to find user identity fields. By default mail, givenName and sn configured.
Email Username: Username will be emailed to the registered email id. Before enabling this we need to configure email server details. Email configuration details will be explained in the next article.
Display Username: Username will be displayed on the screen
Here Display Username selected to see the username on the screen itself instead of email.
Go to the self-service portal, there you can see forgotten user name options in the below login form.
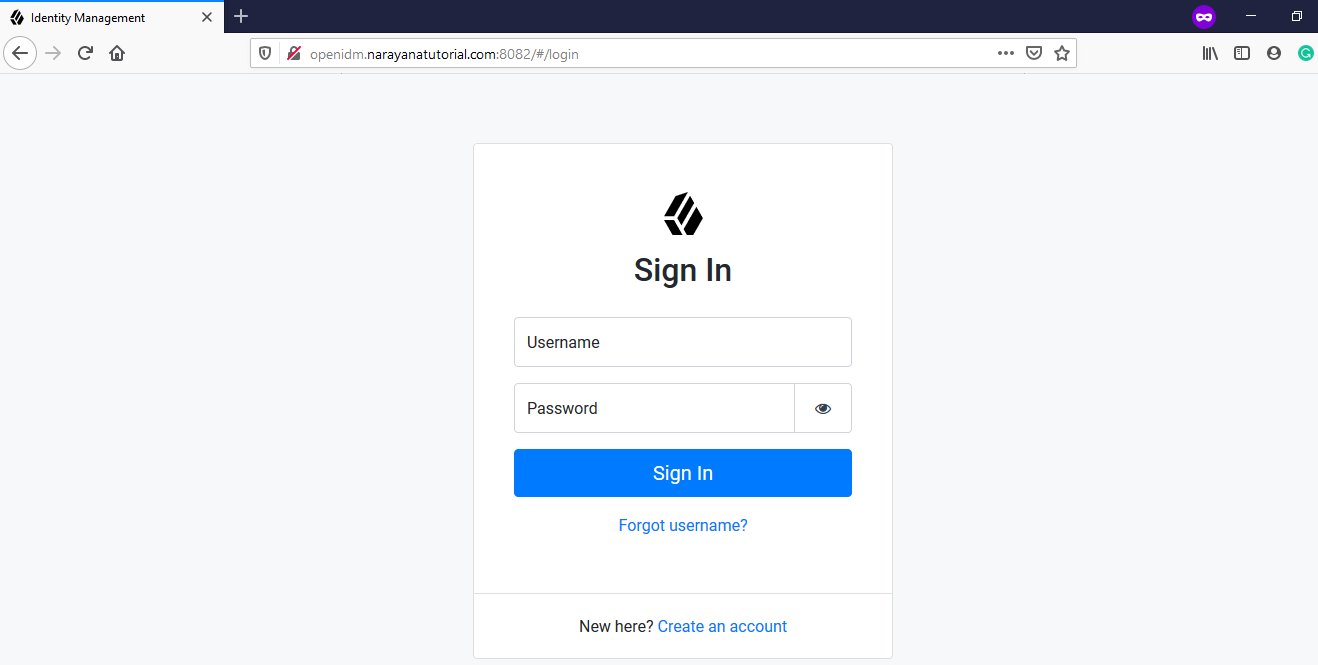
Forgotten-Username-2
Click on Forgot username?
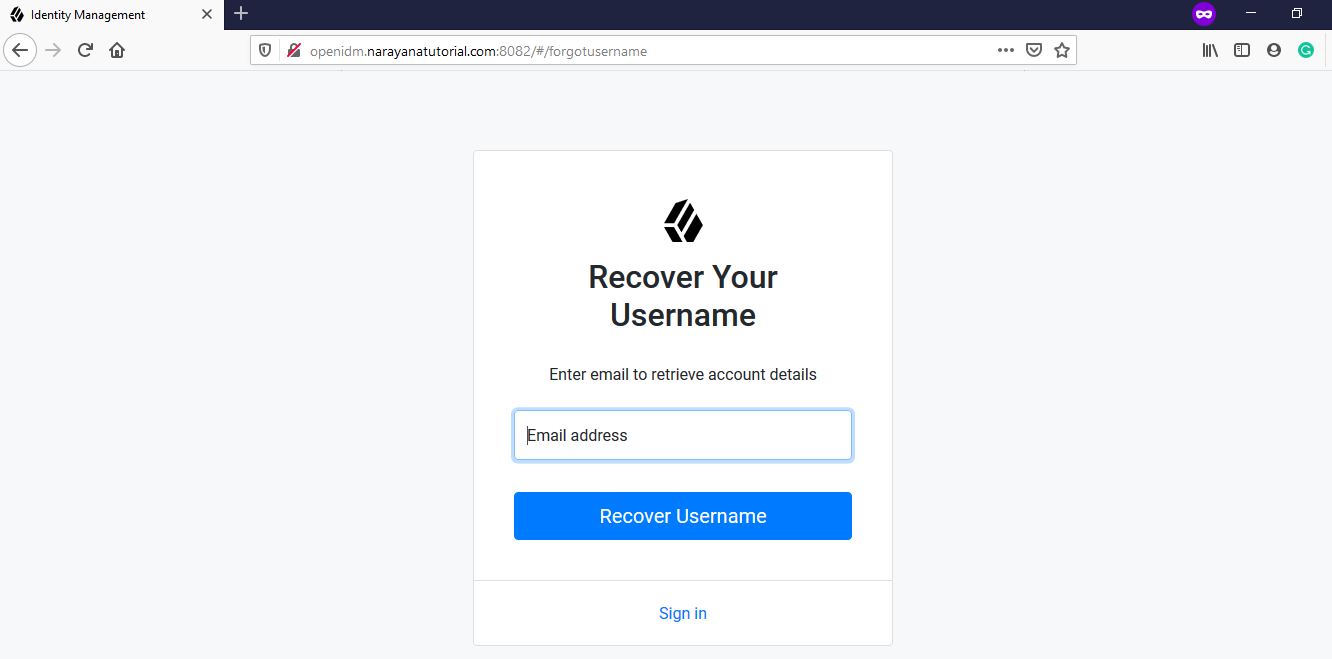
Forgotten-Username-3
Enter registered email to recover the username on the screen.
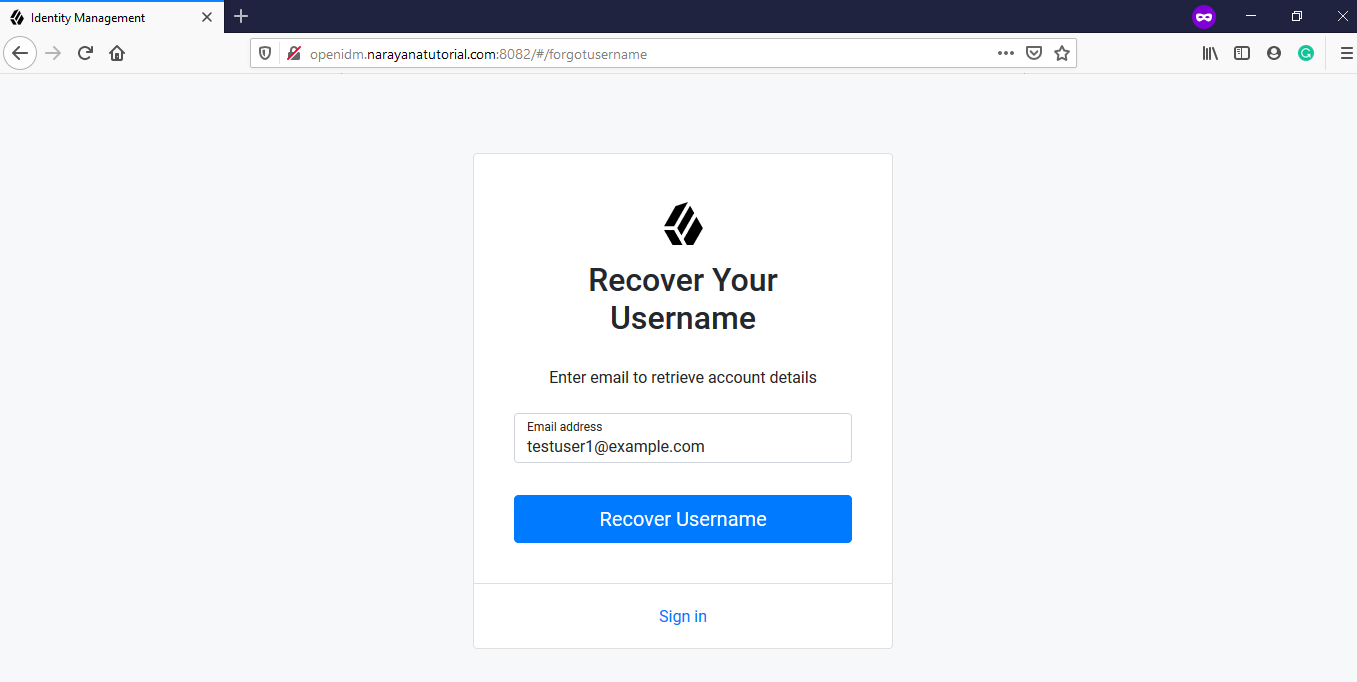
Forgotten-Username-4
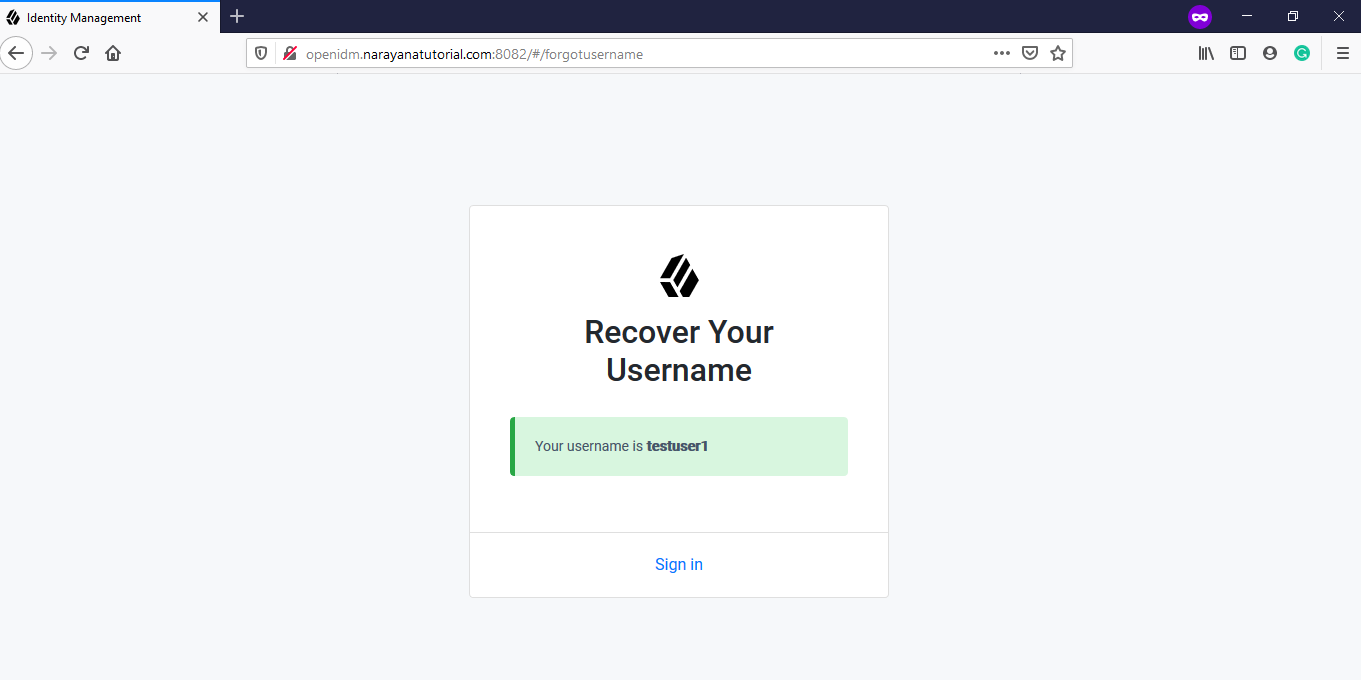
Forgotten-Username-5
Forgotten Password
By default it is not enabled, to enable it, log in into the admin portal and go to -> Configure –> Forgotten Password and enable it.
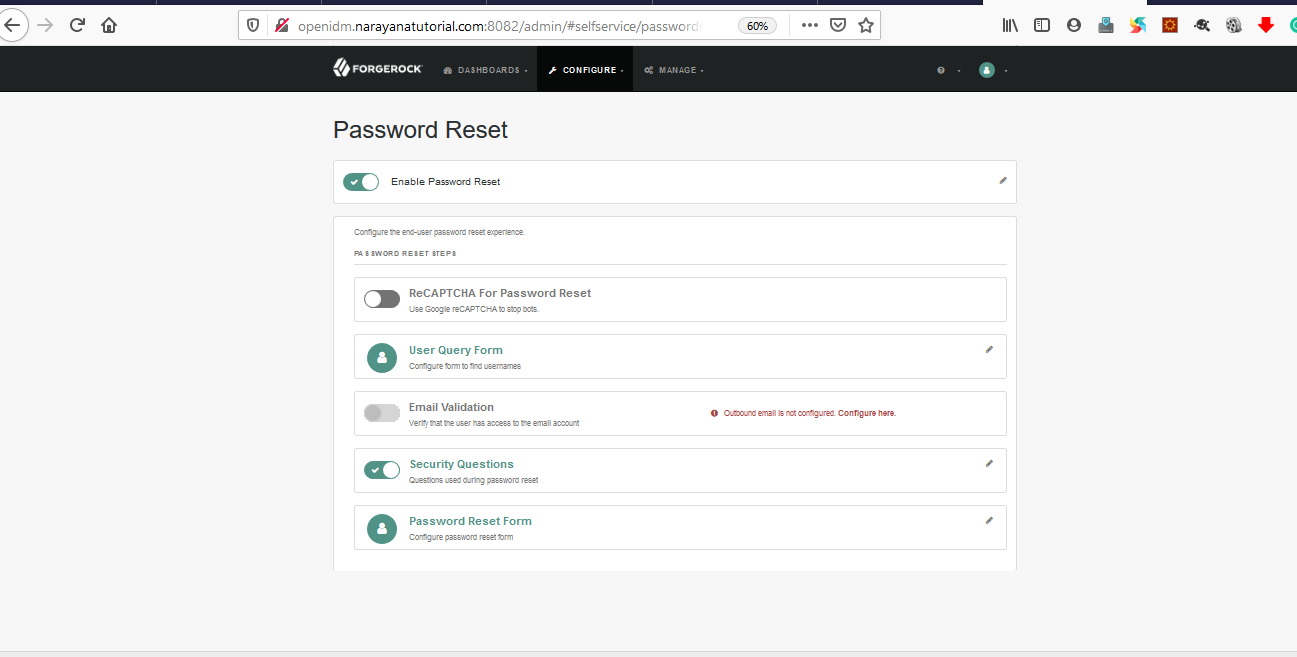
User-Password-Reset-Enable
Here security questions enabled so we need to answers for security questions while resetting the password
Now go to the user self-service portal, we can see Forgot Password in the below login form.
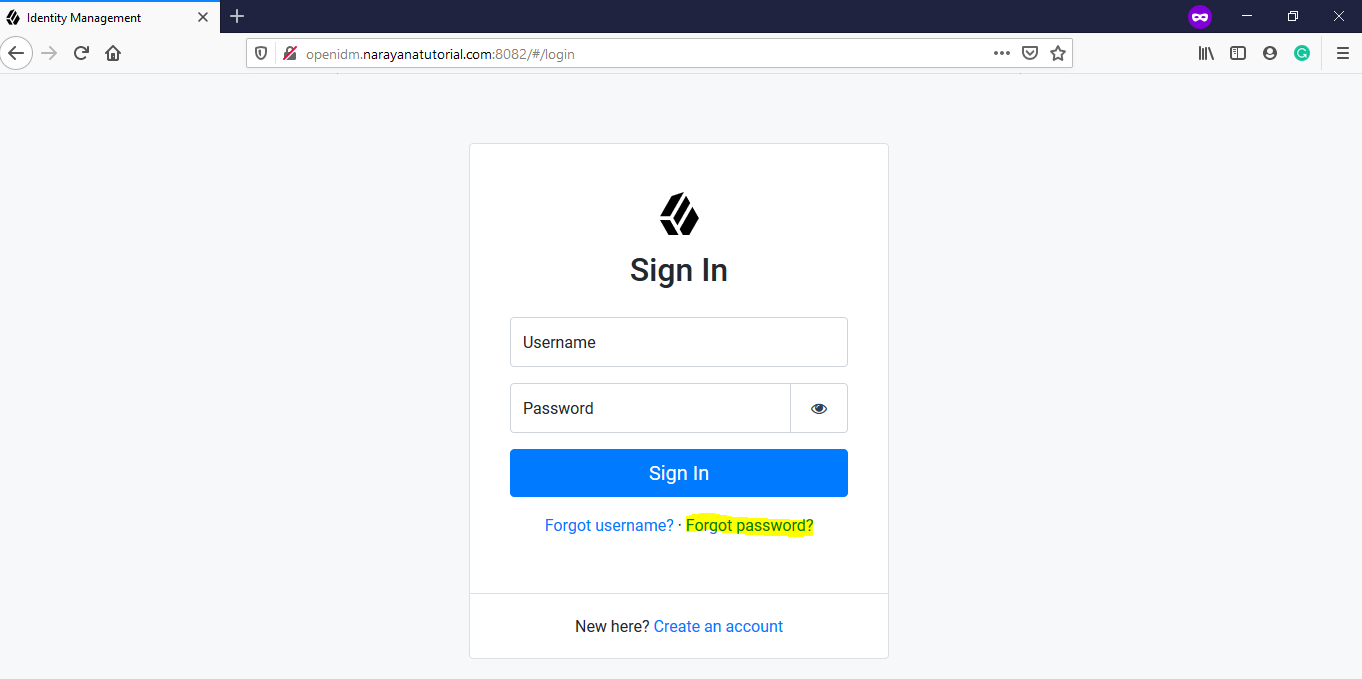
User-Forgot-Password-Option
Click on Forgot Password to reset the password and enter the registered email id and then click on Retrieve Account
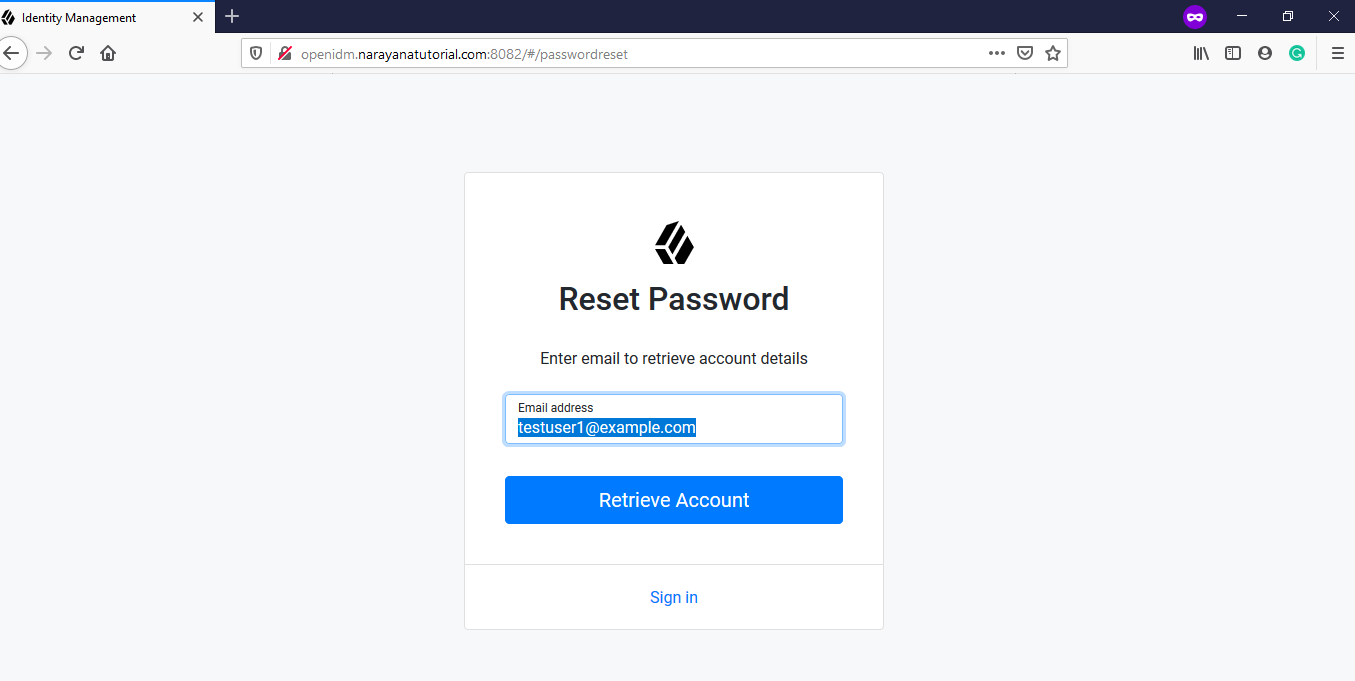
User-Forgot-Password-Form
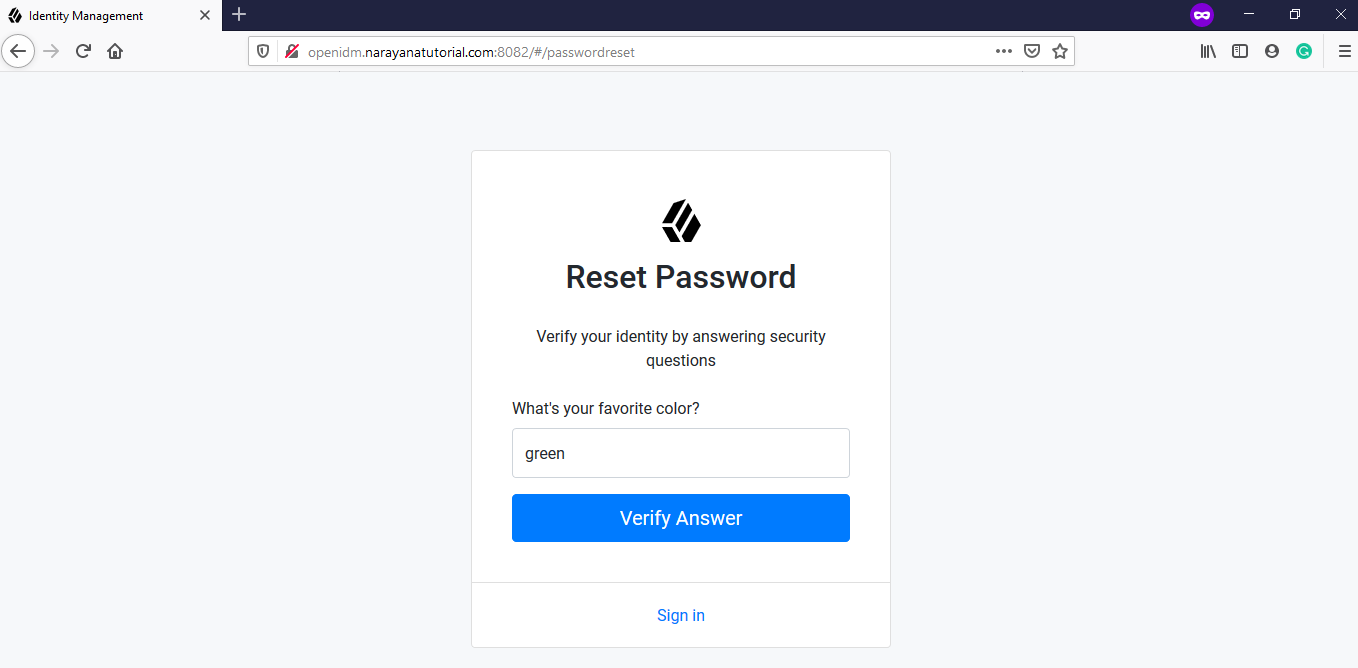
User-Forgot-Password-Security-Questions
Enter correct answers for security questions that were given at the time of Sign Up and then click on Verify Answer. Once the given answers are correct then moved to enter New Password.
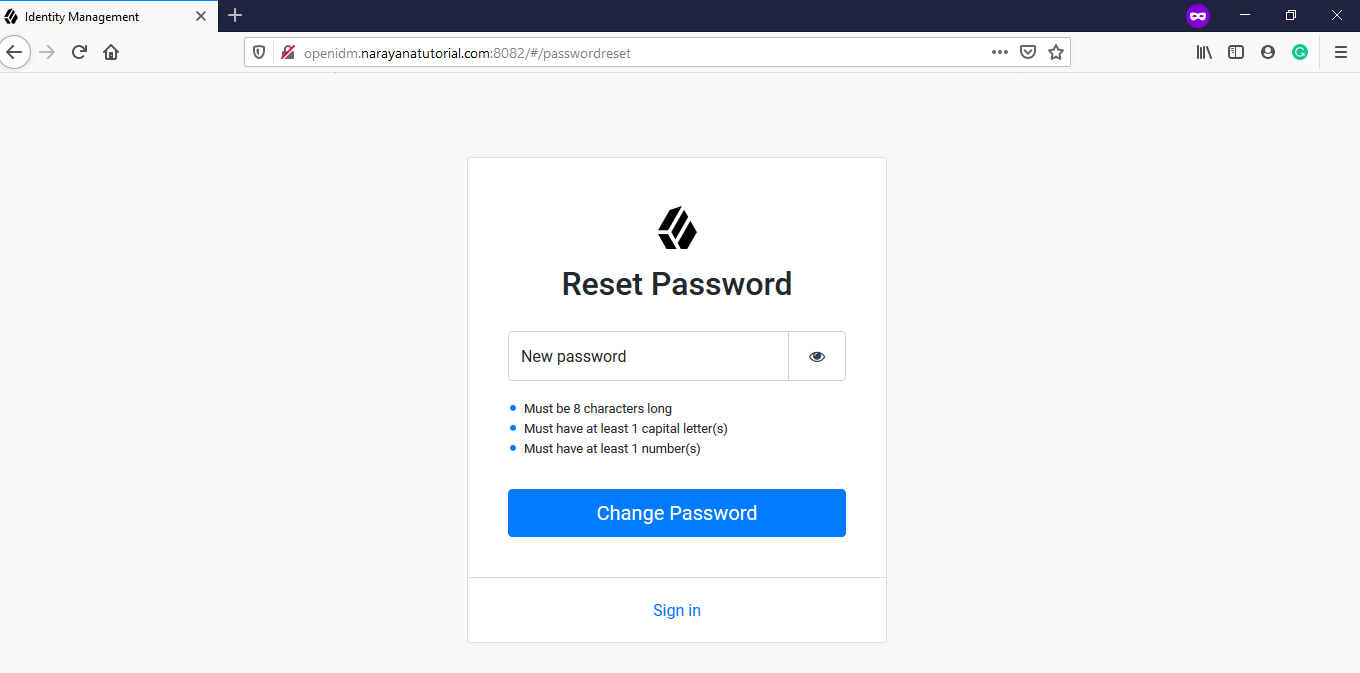
User-Forgot-Password-New-Password
Enter New Password, and then click on Change Password to reset the new password.
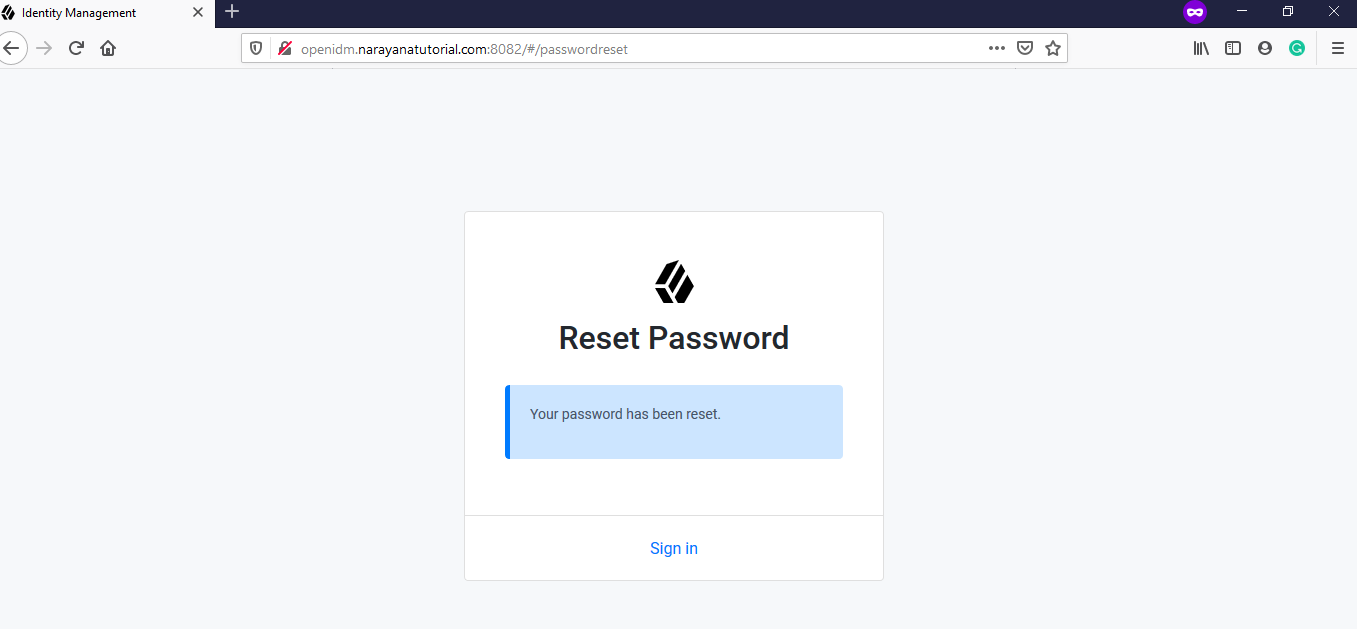
User-Forgot-Password-Reset-Success
Your password has been reset successfully.
For more details, you can go through the OpenIDM user self-service video

Hello! I am Narayanaswamy founder and admin of narayanatutorial.com. I have been working in the IT industry for more than 12 years. NarayanaTutorial is my web technologies blog. My specialties are Java / J2EE, Spring, Hibernate, Struts, Webservices, PHP, Oracle, MySQL, SQLServer, Web Hosting, Website Development, and IAM(ForgeRock) Specialist
I am a self-learner and passionate about training and writing. I am always trying my best to share my knowledge through my blog.

