How to create a Realm in OpenAM
Table of Contents
In this post, I am going to sharing how to create a realm in OpenAM. Realm is used to group and organize the information and configuration parameters. Its like isolation of the parameters and configuration for a particular realm. You can create a project/channel-wise realm. So if one realm not working due to misconfiguration then it will not affect other realms. So each realm working like independent.
Before going to create a realm, OpenAM should be installed and up and running. If not installed OpenAM, You can install OpenAM by using the following links and videos.
OpenAM Installation Articles
- ForgeRock OpenAM Prerequisites Setup
- ForgeRock OpenAM Custom Configuration Installation on Windows
- Forgerock OpenAM Default Configuration Installation
OpenAM Installation Videos
How To Create Realm in OpenAM
Step 1: Hostname Configuration in Host file
You need to configure the hostname in the hosts’ file for new ream subscriber DNS
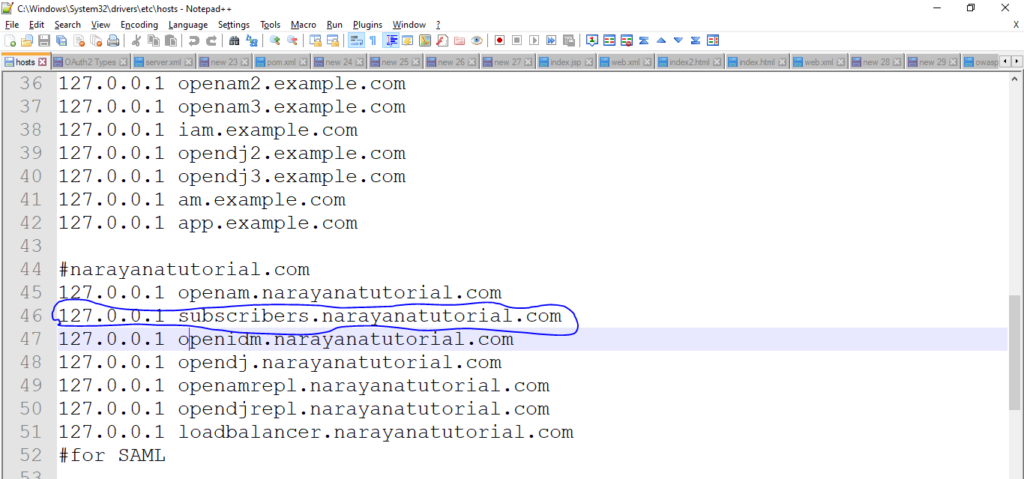
OpenAM Subscriber Realm DNS Configuration in host file
Step 2: OpenAM Log in
OpenAM deployed in Tomcat server and start the tomcat server and access the OpenAM application using the URL http://openam.narayanatutorial.com:8991/am

OpenAM Login
Enter Admin User login credential
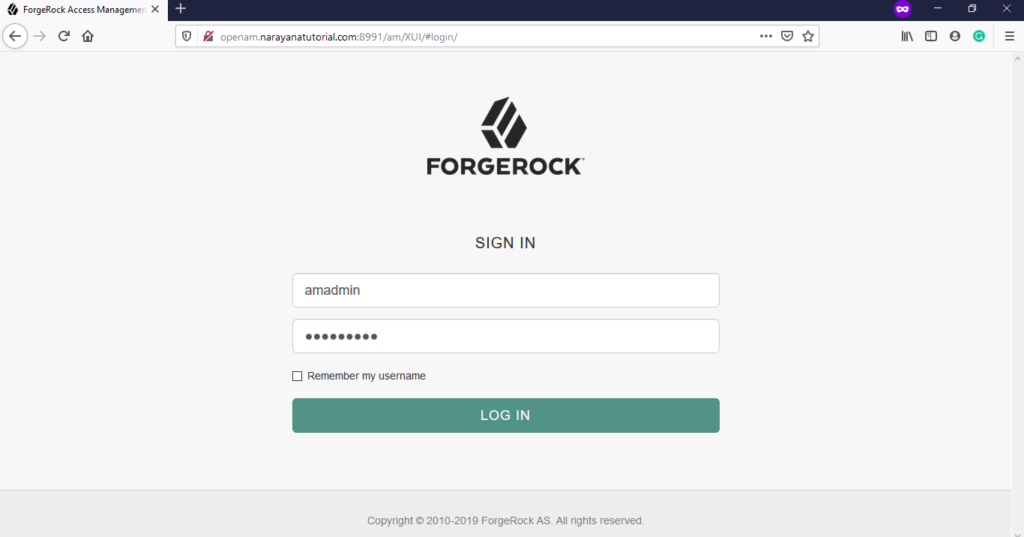
OpenAM Login Credentials
Lis of realms dashboard after successful login. Click on New Realm
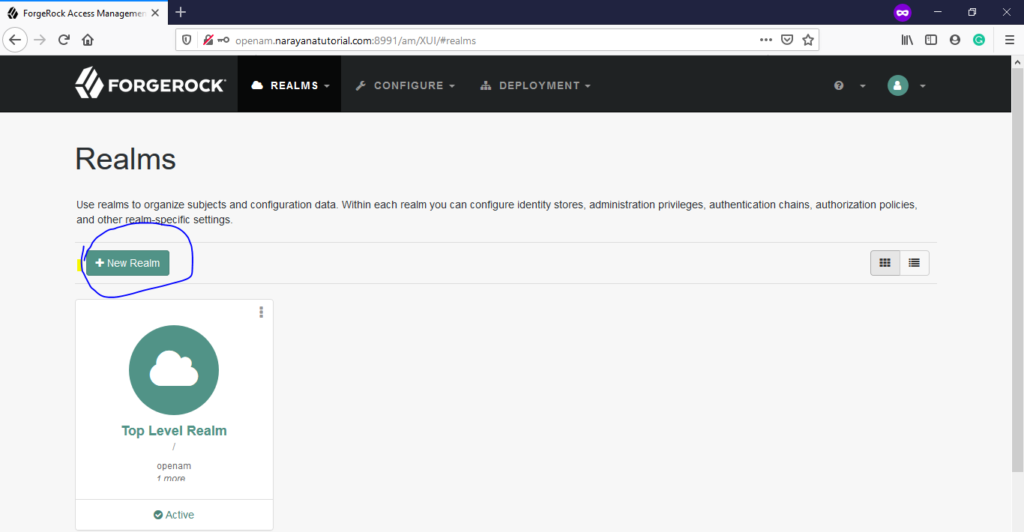
OpenAM Realms Dashboard
Step 3: Create Realm
The new realm creation form opened.
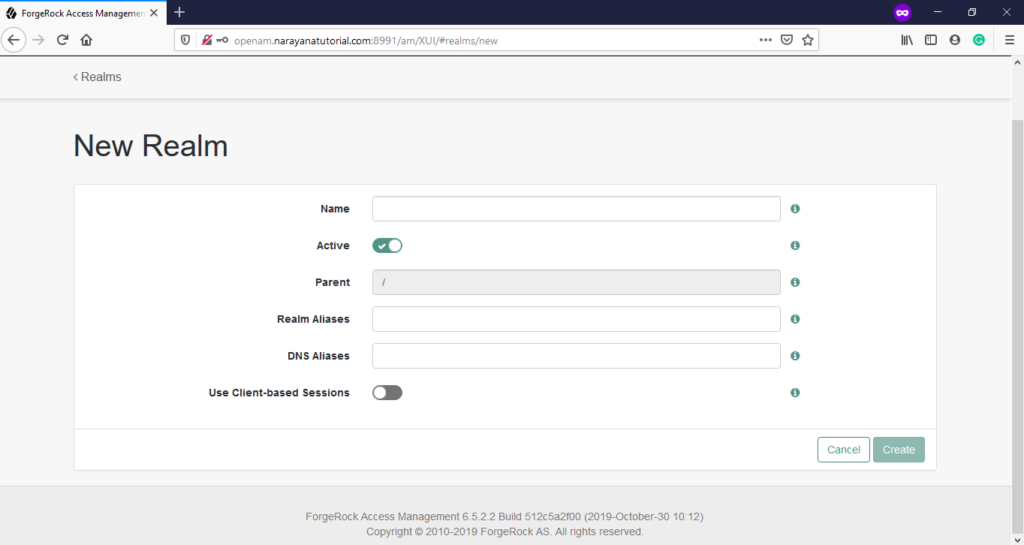
OpenAM Create Realm Form
Enter new realm details and click on Create

OpenAM Create Realm Form Fill
The new realm subscribers created.
OpenAM Realm Created
Step 4: Add DNS Aliases for New Realm
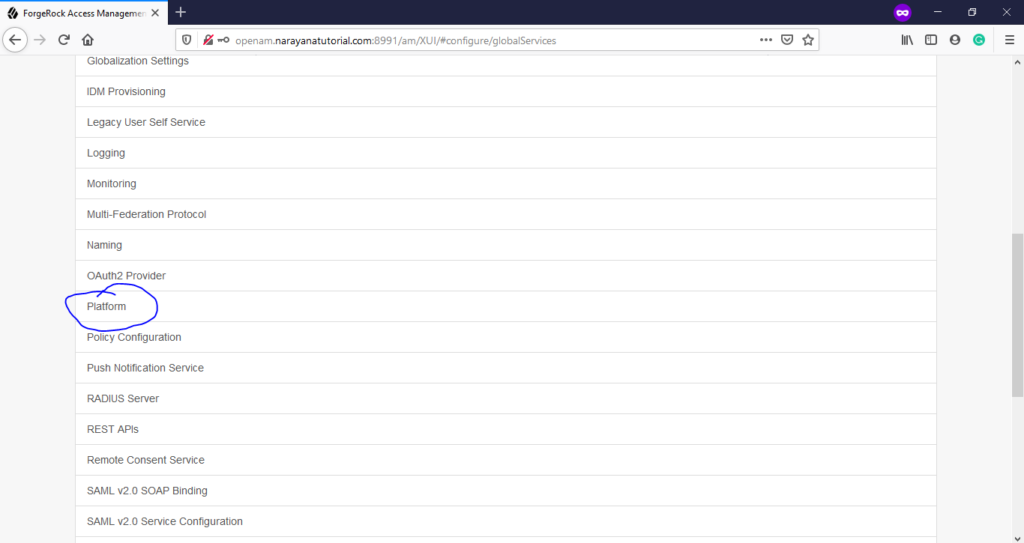
Navigate to: CONFIGURE —> GLOBAL SERVICES —> Platform –>
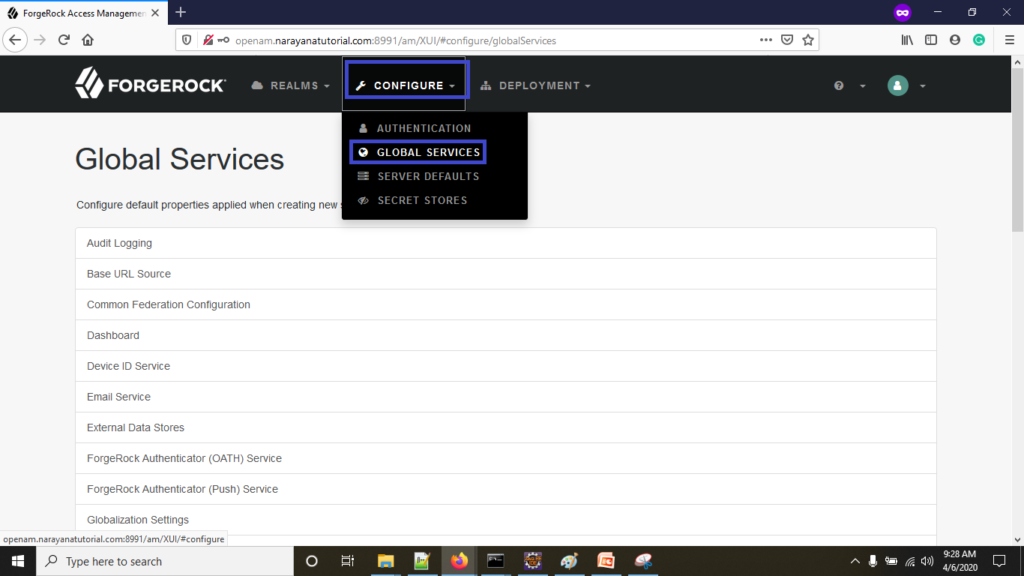
OpenAM Realm DNS Configuration 1
OpenAM Realm DNS Configuration 2
OpenAM Realm DNS Configuration 3
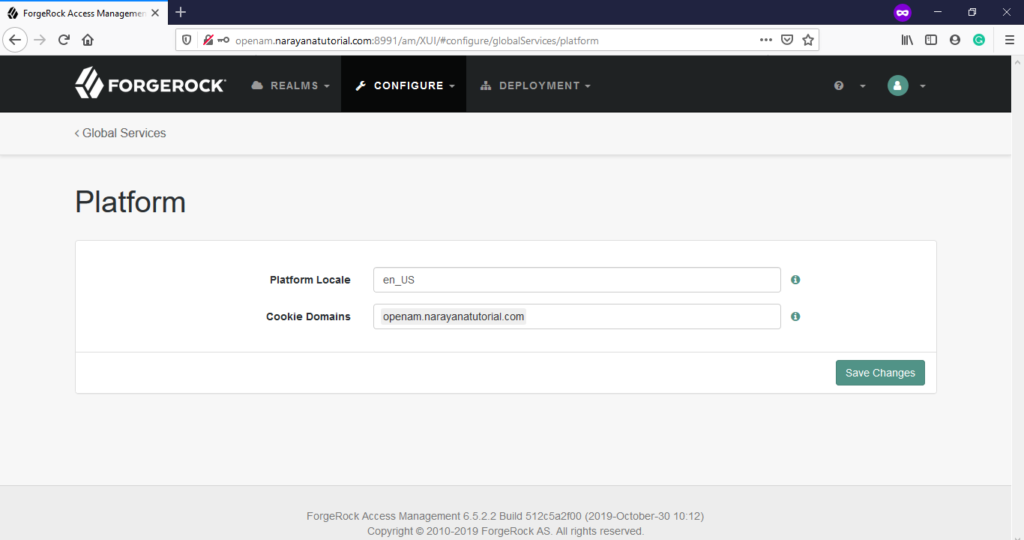
Enter new realm subscriber DNS alias name in Cookie Domains. In step 1, we have configured the DNS name in the host file.

OpenAM Subscriber Realm DNS Configuration 3
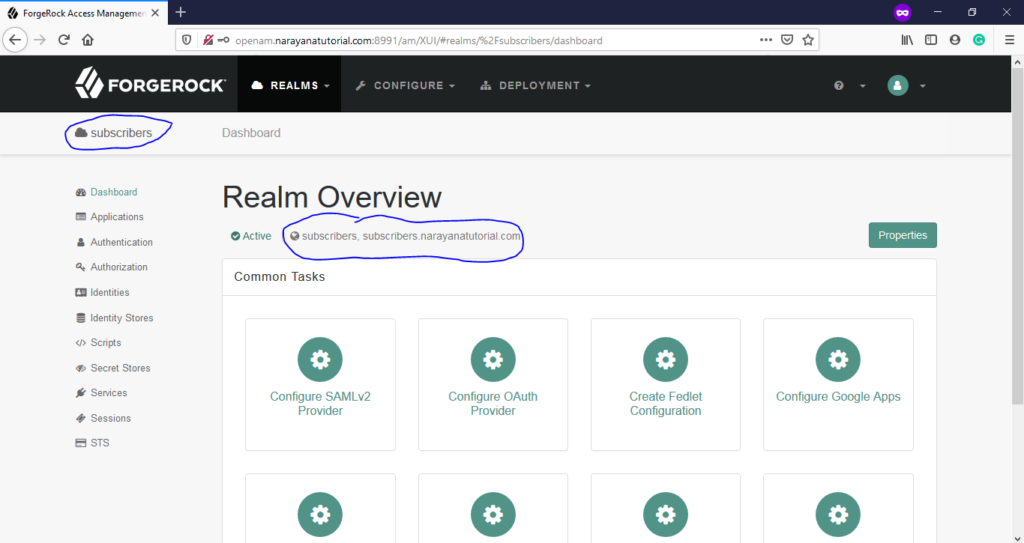
Step 5: Access New Realm (Subscribers) via DNS
Subscribers realm URL: http://subscribers.narayanatutorial.com:8991/am/
We have identities in the OpenDJ, trying to login in subscribers realm.
User name: demo
Password: Admin1234
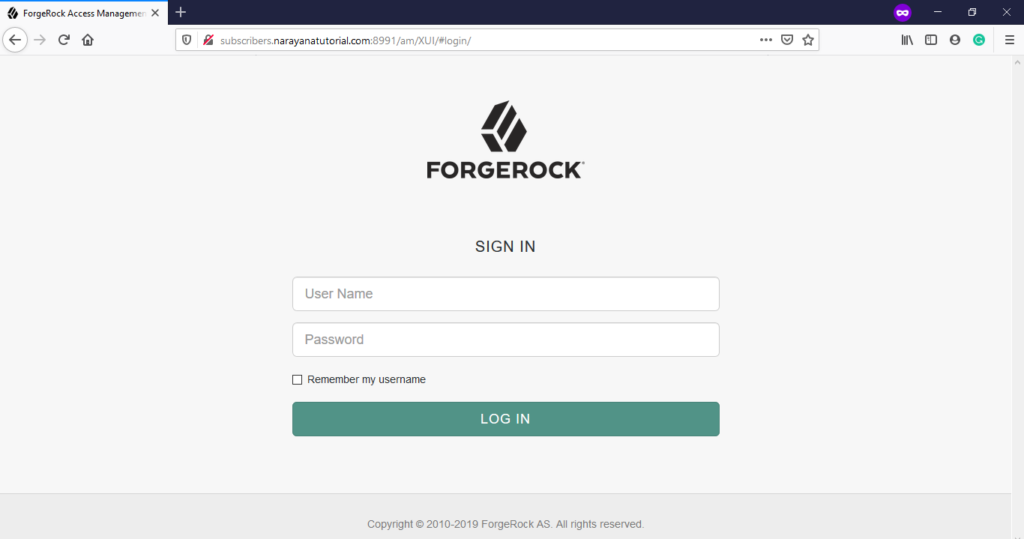
OpenAM Subscriber Realm DNS Login Home
Enter demo user credentials.
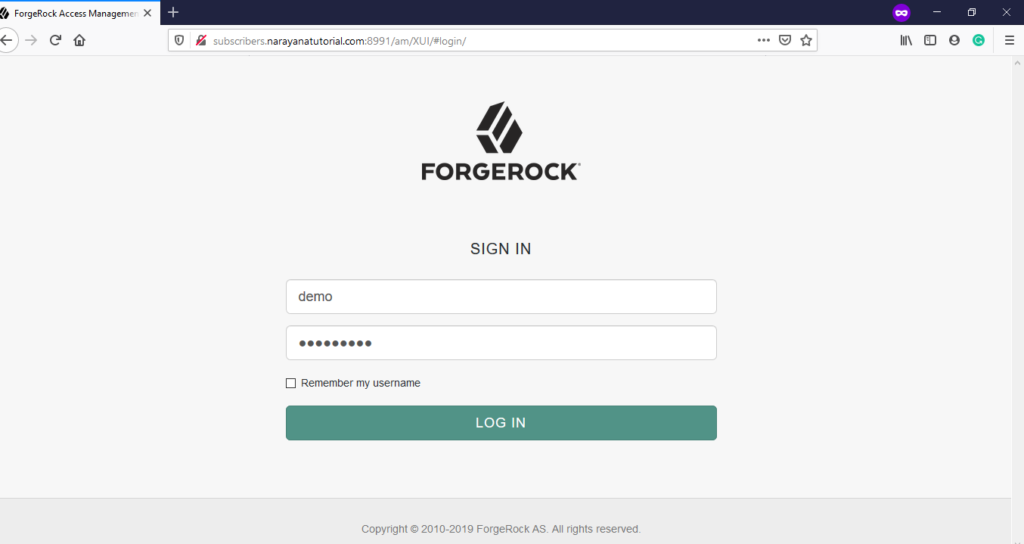
OpenAM Subscriber Realm DNS Login Credentials
You can see the profile page, after successful login
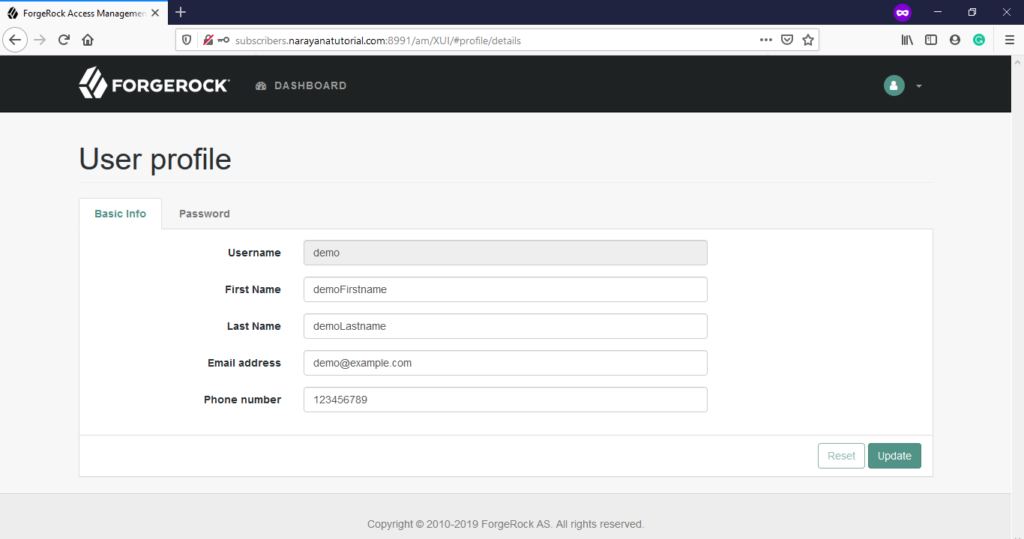
OpenAM Subscriber Realm DNS User Loggedin
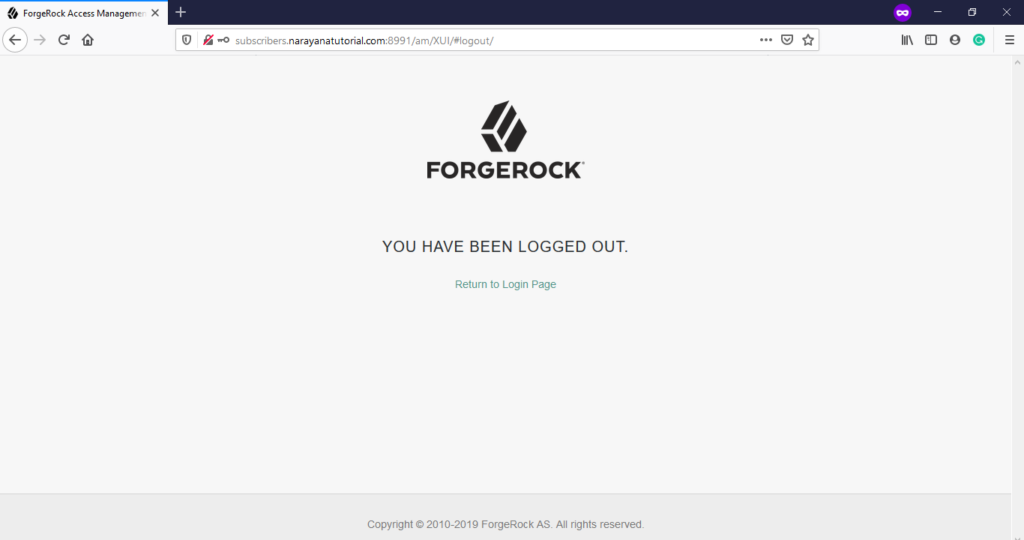
OpenAM Subscriber Realm DNS Logout
Step 6: Access New Realm (Subscribers) via Realm Name in URL
Subscribers realm URL:
http://openam.narayanatutorial.com:8991/am/XUI/?realm=/subscribers#login/
We have identities in the OpenDJ, trying to login in subscribers realm.
User name: demo
Password: Admin1234
The URL http://openam.narayanatutorial.com:8991/am/XUI/?realm=/subscribers will not be changed in entire process execution and highlighted in every screen.
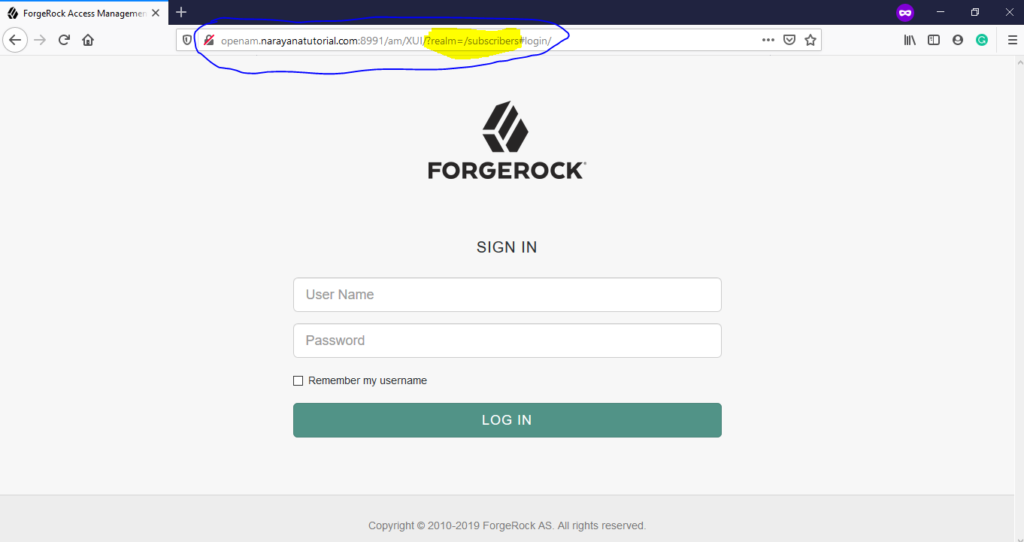
OpenAM Subscriber Realm Login Home
Enter demo user credentials
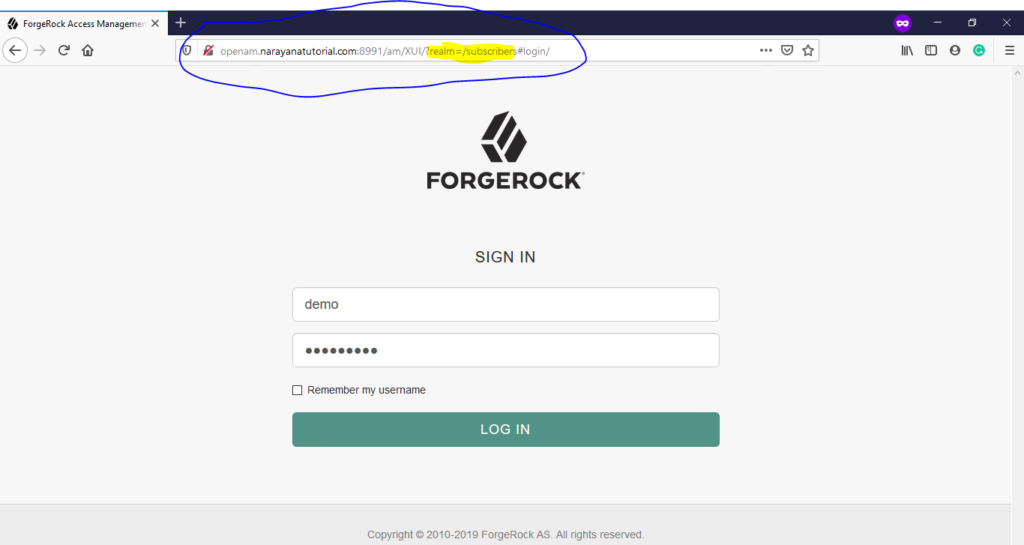
OpenAM Subscriber Realm Login Credentials
Profile page displayed, after user login successful.
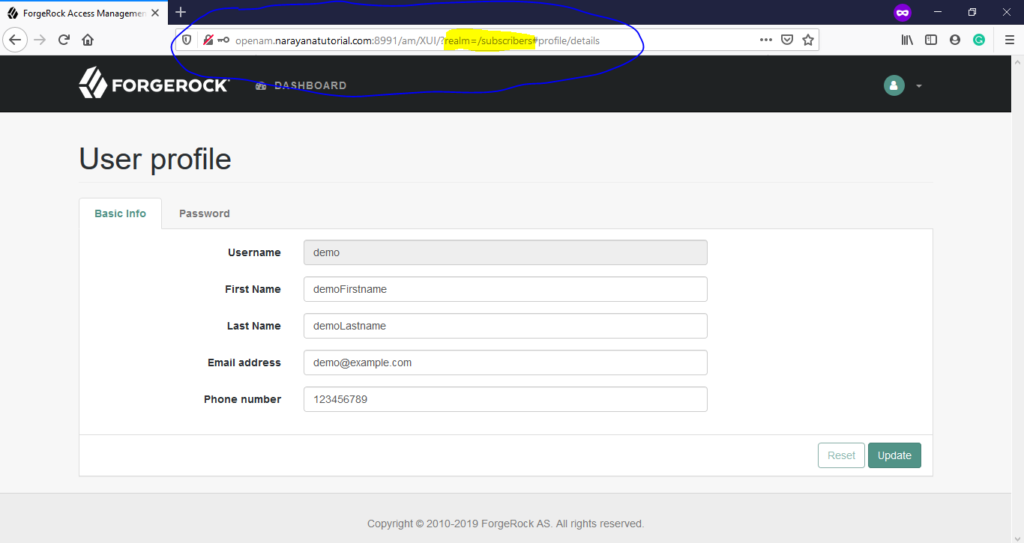
OpenAM Subscriber Realm User Loggedin
Click on logout and observe that no change URL.
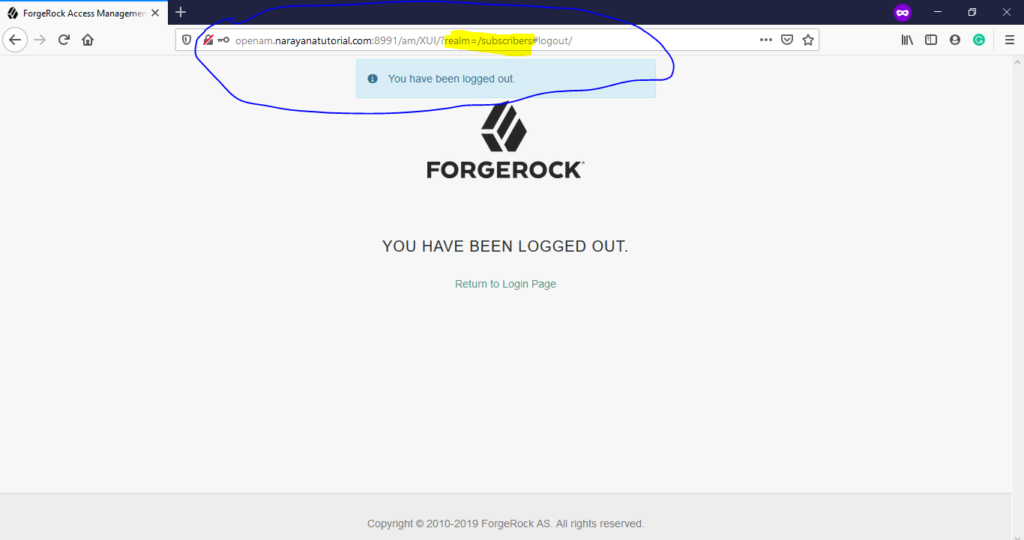
OpenAM Subscriber Realm Logout
Thanks for reading the article. Please share the article and comment below if you like it
 Online Videos")

Hello! I am Narayanaswamy founder and admin of narayanatutorial.com. I have been working in the IT industry for more than 12 years. NarayanaTutorial is my web technologies blog. My specialties are Java / J2EE, Spring, Hibernate, Struts, Webservices, PHP, Oracle, MySQL, SQLServer, Web Hosting, Website Development, and IAM(ForgeRock) Specialist
I am a self-learner and passionate about training and writing. I am always trying my best to share my knowledge through my blog.

