How to install Java De-Compiler
Table of Contents
Java decompiler is very important to decompile the .class file into a .java file which is plain text file. So In this article, I am going to show how to install Java De-Compiler in windows and Linux/Unix systems.
There are 2 ways to install java -decompiler in the systems
- JD-GUI
- JD-Eclipse
JD-GUI
In this again we have multiple options to install java de-compiler
- Windows – jd-gui.exe file installation (which may need administration permissions )
- Windows – jar file execution (administration permissions not required. which is a better option)
- Linux / Unix – RPM/Debian package installation (which may need administration permissions)
- Linux / Unix – jar file execution (administration permissions not required. which is a better option)
Windows – jd-gui.exe – Graphical User Interface
Download Windows .exe file from java de-compiler official website. There are two options 1. Overview and 2. Download. Select the Download option to see the list of available software.
Click on jd-gui-windows-1.6.6.zip
Once downloaded the zip file, you can unzip it.

Jd-Gui Application Folder Structure
Double click on jd-gui.exe to open java decompiler console.
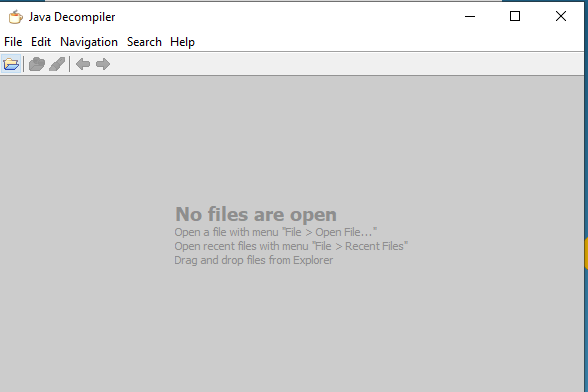
Java Decompiler GUI
Drag and Drop the .class files into java decompiler console and then you can see the java code.
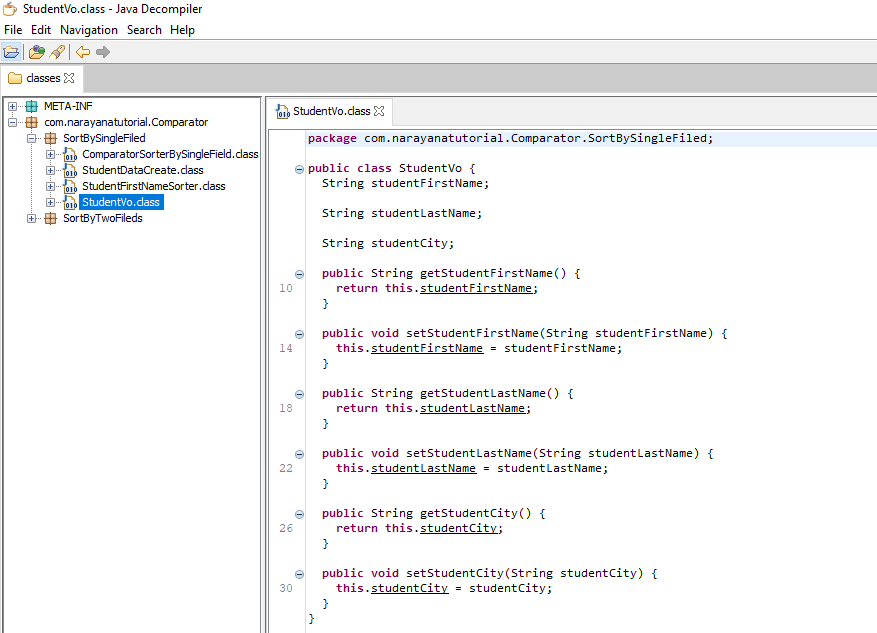
Java Decompiler Drag and Drop Class Files
Windows: Jar File execution
Download jd-gui-1.6.6.jar
Copy the jar file into D:\Java-Decompiler\jd-gui-1.6.6.jar
Open the windows command prompt, go to the jar location and execute the command to run java de-complier. For this not required system administrator permissions.
D:\>cd Java-Decompiler

D:\Java-Decompiler>java -jar jd-gui-1.6.6.jar
Then the same above java decompiler console will be opened and drag and drop the .class files to de-compile to java file. Here there is no change in GUI.
Note:
We can use the same jar file for Linux / Unix also and also use the above same command, execute it to run the java-decompiler.
Linux / Unix : RPM/DEBIAN
Same as the Windows system, you can download jd-gui-1.6.6.rpm jd-gui-1.6.6.deb either .rpm or .deb according to OS flavor, and then click the rpm and dev file to run java-Decompiler. There is no change in the GUI level.
JD-Eclipse
Download jd-eclipse-2.0.0.zip and keep it in the folder D:\Java-Decompiler
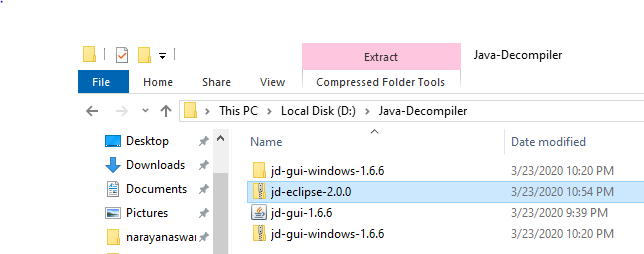
JD-Eclipse Folder Structure
We can install Java decompiler plugin in eclipse, so for this, we need to install eclipse first and then install the JD plugin in the eclipse market place.
Suppose eclipse already installed in your system, then go to
Help –> Install New Software
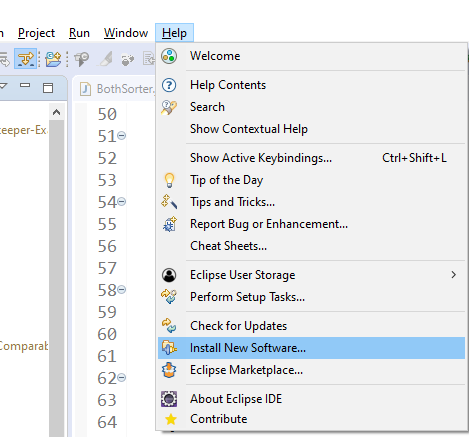
JD Eclipse Install New Software
Drog and Drop the zip file on the dialog window and Check “java decompile eclipse plug-in”
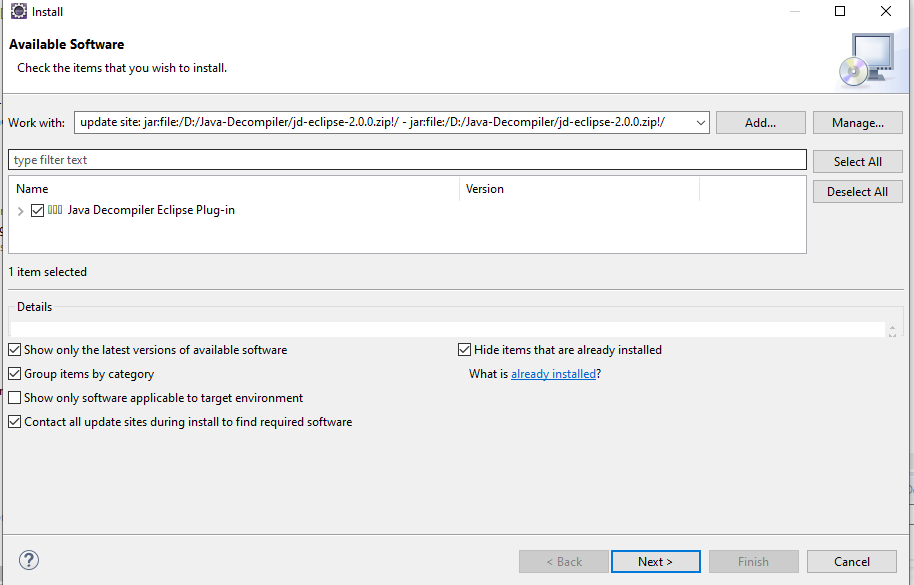
JD Eclipse Plugin Drag and Drop and Select
Click on Next and finish button
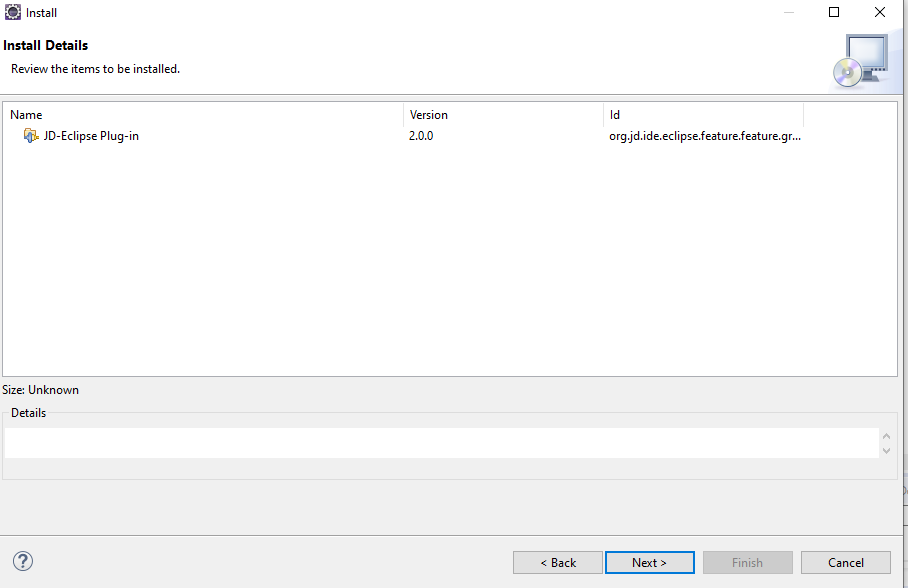
JD Eclipse Plugin Installation Details
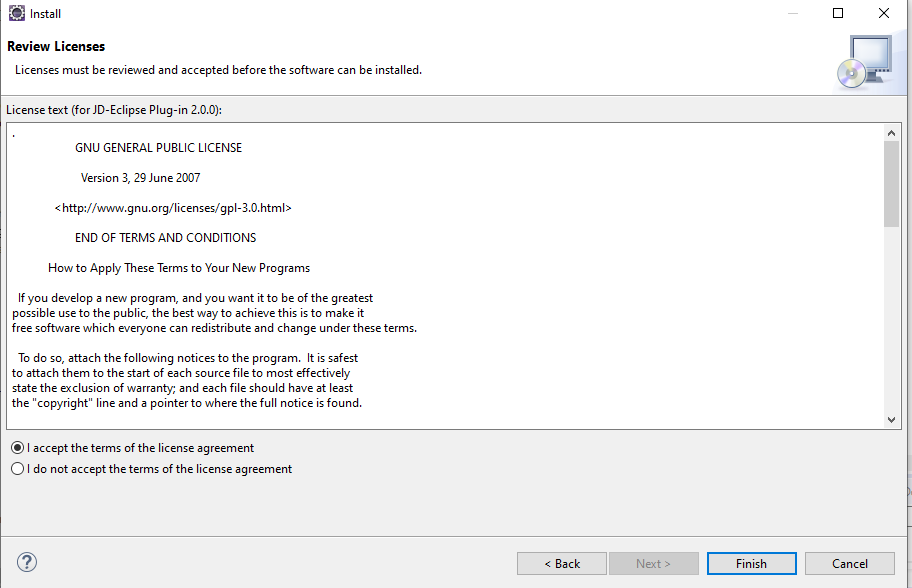
JD Eclipse Plugin Installation Accept License
5) A warning dialog windows appear because “org.jd.ide.eclipse.plugin_x.y.z.jar” is not signed. Click on the “Install anyway” button.

JD Eclipse Plugin Installation Anyway
After installation completed, restart the eclipse to reflect the plugin.

Hello! I am Narayanaswamy founder and admin of narayanatutorial.com. I have been working in the IT industry for more than 12 years. NarayanaTutorial is my web technologies blog. My specialties are Java / J2EE, Spring, Hibernate, Struts, Webservices, PHP, Oracle, MySQL, SQLServer, Web Hosting, Website Development, and IAM(ForgeRock) Specialist
I am a self-learner and passionate about training and writing. I am always trying my best to share my knowledge through my blog.


