OpenDJ installation is very simple through the command line. Here I am going to sharing OpendJ installation in windows. Installation in Linux and Windows both are very similar way so that I will mention wherever changes required for linux.
Before going to install OpenAM, you need to install OpenDJ, because OpenAM configuration details will be stored in OpenDJ.
Before install OpenDJ, we need to download it from official ForgeRock Website.
Before downloading any ForgeRock components, you need to Register first and then download.
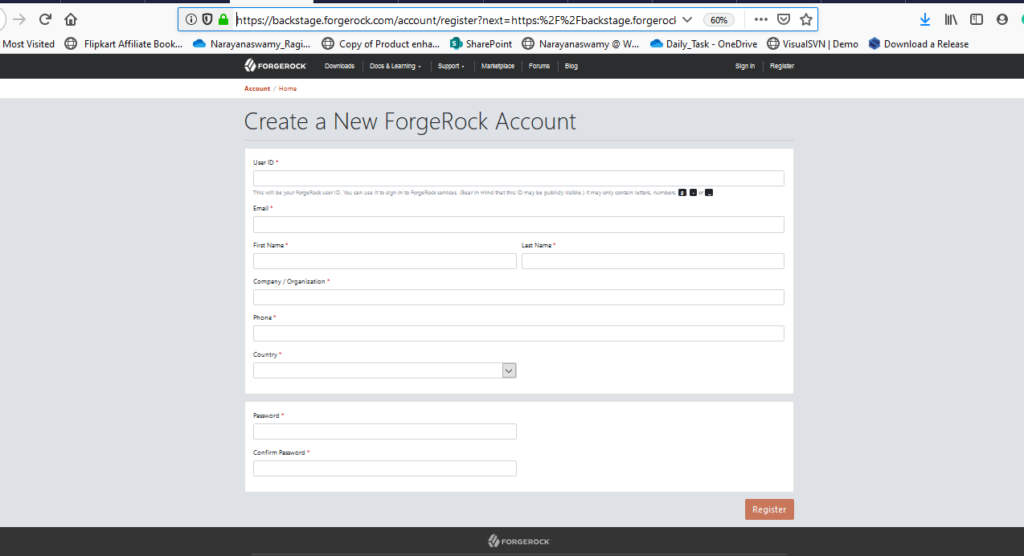
Click here to download OpenDJ 3.5
Step 1: Download OpenDJ
Table of Contents
Create a folder in D: drive like D:/forgerock/
Download it as zip format and unzip it into D:/forgerock/
Finally the folder will be opendj folder will be like D:/forgerock/opendj/
Step 2: Execute Installation Command
D:\forgerock\opendj>setup.bat --cli
Accept the license (Yes/No) [No]:yes
Step 3: Root User DN Setup
What would you like to use as the initial root user DN for the Directory
 Server? [cn=Directory Manager]:
Command itself give information so if you want to use the same then you just press enter without entering any thing.
So now press ENTER, means that we are going using cn=Directory Manager
Step 4: Password Setup
Please provide the password to use for the initial root user:

Please re-enter the password for confirmation:
Enter root user password and re-enter the same password for confirmation
Step 5: LDAP Server Host Name Setup
Provide the fully-qualified directory server host name that will be used when generating self-signed certificates for LDAP SSL/StartTLS, the administration connector, and replication [DESKTOP-6C1MG7S]:[DESKTOP-6C1MG7S] is my system name so here you will see your system name so just press ENTER without entering anything
Step 6: LDAP Server Client Port Setup
On which port would you like the Directory Server to accept connections from LDAP clients? [389]:
389 is the default post so you can use the same port so just press the ENTER
Step 7: LDAP Server Admin Port Setup
On which port would you like the Administration Connector to accept
 connections? [4444]:
4444 is the default post so you can use the same port so just press the ENTER
Step 8: LDAP Server Confirmation
Do you want to create base DNs in the server? (yes / no) [yes]: yes
Step 9: Backed Type
Provide the backend type:1) JE Backend2) PDB BackendEnter choice [1]: 2
Step 10: Base DN Setup
Provide the base DN for the directory data: [dc=example,dc=com]: dc=narayanatutorial,dc=com
Here Base DN given as dc=narayanatutorial,dc=com
So here you can give your choice
Step 10: Populate Database
Options for populating the database:

    1)  Leave the database empty
    2)  Only create the base entry
    3)  Import data from an LDIF file
    4)  Load automatically-generated sample data

Enter choice [1]: 4
By pressing 4, you can populate sample data
Step 12: Specify No.of Records
Please specify the number of user entries to generate: [2000]:
You can mention number and sample data will be generated. Else just press Enter then 2000 sample data will be generated.
Step 13: Enable SSL Setup
Do you want to enable SSL? (yes / no) [no]: yes
Step 14: SSL Port Setup
On which port would you like the Directory Server to accept connections from
LDAPS clients? [636]:
Press Enter so that we can use 636 port for LDAPS connection.
Step 15: TSL Setup
Do you want to enable Start TLS? (yes / no) [no]: yes
Step 16: Certificate Setup
Certificate server options:

    1)  Generate self-signed certificate (recommended for testing purposes
        only)
    2)  Use an existing certificate located on a Java Key Store (JKS)
    3)  Use an existing certificate located on a JCEKS key store
    4)  Use an existing certificate located on a PKCS#12 key store
    5)  Use an existing certificate on a PKCS#11 token

Enter choice [1]: 1
Press 1 to generate self-signed certificate
Step 17: Enable Windows Service
Enable the server to run as a Windows Service? (yes / no) [no]: no
If yes, then opendj configured in windows service so whenever system reboot automatically opendj will be started.
If no, whenever you want work with opendj then you need to start opendj manually. I will show you in the next article how to start and stop opendj.
So I choosed option no
Step 18: Setup Complete
Do you want to start the server when the configuration is completed? (yes /
no) [yes]:
Just press Enter to start the opendj after completion of installation.
After completion of installation and below summary will be displayed.
Setup Summary
=============
LDAP Listener Port:            389
Administration Connector Port: 4444
JMX Listener Port:
LDAP Secure Access:            Enable StartTLS
Enable SSL on LDAP Port 636
Create a new Self-Signed Certificate
Root User DN:                  cn=Directory Manager
Directory Data:                Backend Type: PDB Backend
                               Create New Base DN dc=narayanatutorial,dc=com
Base DN Data: Import Automatically-Generated Data (2000 Entries)


Configuring Directory Server ..... Done.
Configuring Certificates ..... Done.
Importing Automatically-Generated Data (2000 Entries) ............... Done.
Starting Directory Server .................... Done.
Click here to see OpenDJ installation steps through Graphical User Interface (GUI)
OpenDJ installation in Ubuntu is similar to windows so you can see OpenDJ installation in Ubuntu in this video.
References:
https://backstage.forgerock.com/docs/opendj/2.6
https://backstage.forgerock.com/docs/opendj/3/install-guide/
https://backstage.forgerock.com/docs/opendj/3.5/install-guide/
https://backstage.forgerock.com/docs/ds/5/install-guide/
https://backstage.forgerock.com/docs/ds/5.5/install-guide/
https://backstage.forgerock.com/docs/ds/6/install-guide/
https://backstage.forgerock.com/docs/ds/6.5/install-guide/
 Online Videos")

Hello! I am Narayanaswamy founder and admin of narayanatutorial.com. I have been working in the IT industry for more than 12 years. NarayanaTutorial is my web technologies blog. My specialties are Java / J2EE, Spring, Hibernate, Struts, Webservices, PHP, Oracle, MySQL, SQLServer, Web Hosting, Website Development, and IAM(ForgeRock) Specialist
I am a self-learner and passionate about training and writing. I am always trying my best to share my knowledge through my blog.

