
Tortoise SVN Client Installation in Windows
Table of Contents
In this article, I am going to show Tortoise SVN Client Installation in Windows. Tortoise SVN client is an interface to access the SVN server and to commit code into the SVN server.
Step 1: Download
Tortoise SVN client is free software and we can download it from the official website.
In this article, for 64-bit OS downloaded

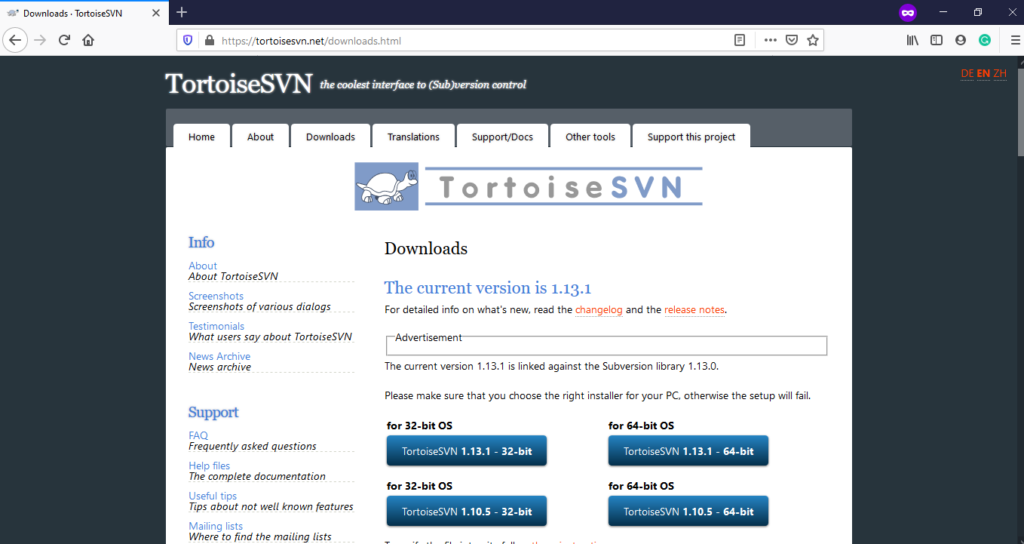
Tortoise SVN Download Home
Click on Save

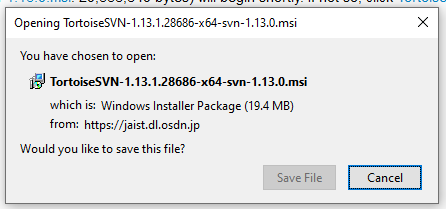
Tortoise SVN Download
Step 2: Installation
Double click on downloaded TortoiseSVN-1.13.1.28686-x64-svn-1.13.0.exe , and then click on Next

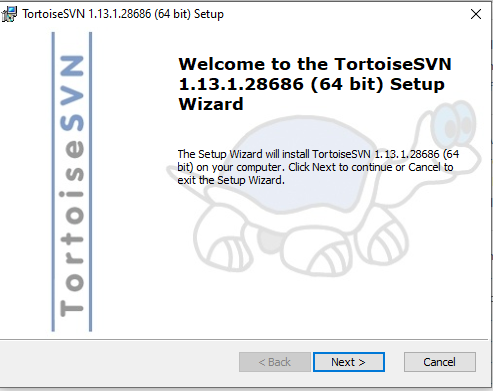
Tortoise SVN Client Installation Welcome
Click on Next by accepting the end-user license agreement

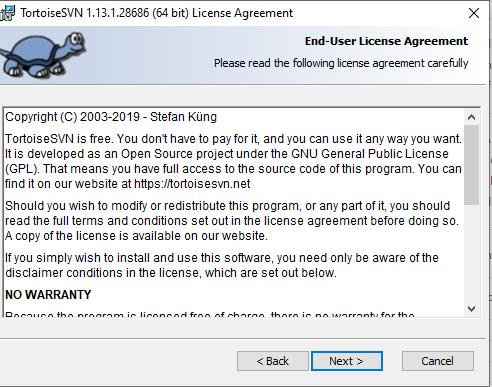
Tortoise SVN Client Installation License
Browse the folder to install and Click on Next

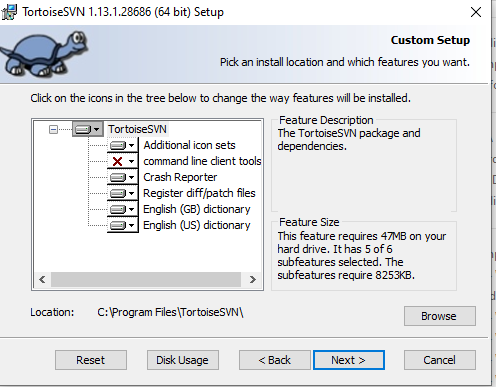
Tortoise SVN Client Installation Custom Setup
Ready to Install, click on Install

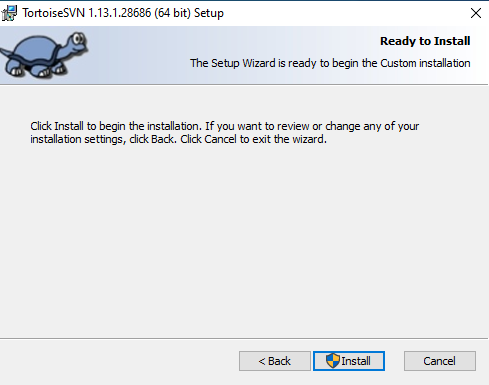
Tortoise SVN Client Installation Ready To Install

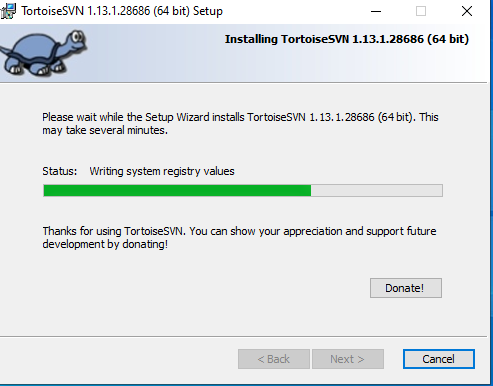
Tortoise SVN Client Installation Progress
Click on Finish to complete the installation.

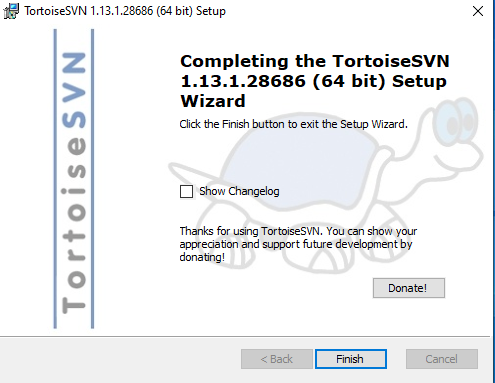
Tortoise SVN Client Installation Finish
Step 3: Access SVN server
Right-click on the screen, goto Tortoise SVN -> Repo Browser

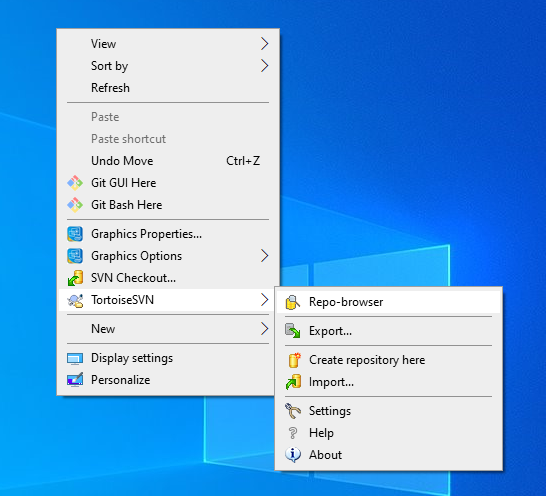
Tortoise SVN Client Access SVN Server
Enter the SVN server repository URL and click on OK

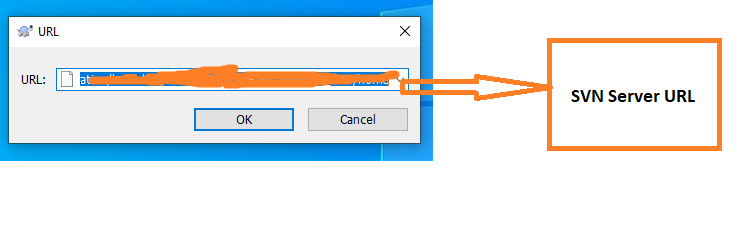
Tortoise SVN Client Access SVN Server URL
You have an account to access the SVN server, therefore, enter your Username and Password and click on OK

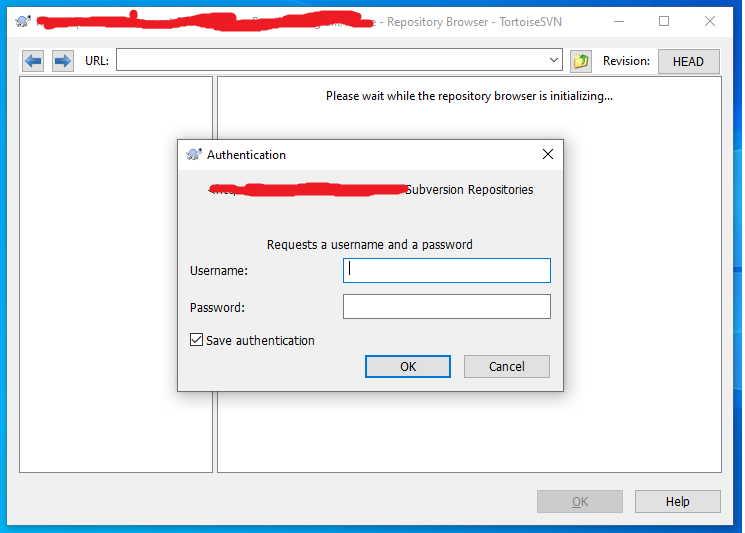
Tortoise SVN Client Access SVN Server Credentials
SVN Server repository home
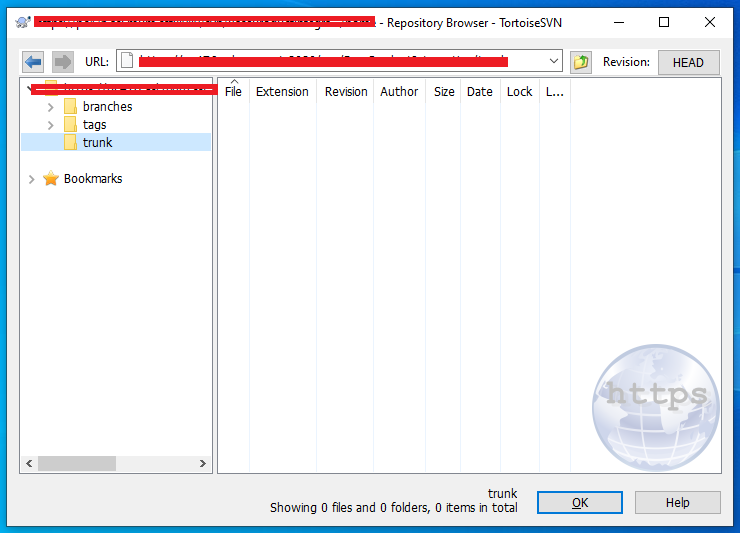
Tortoise SVN Client Access SVN Server Home
I hope you understand Tortoise SVN Client Installation in Windows. Thank you for reading the article.


Hello! I am Narayanaswamy founder and admin of narayanatutorial.com. I have been working in the IT industry for more than 12 years. NarayanaTutorial is my web technologies blog. My specialties are Java / J2EE, Spring, Hibernate, Struts, Webservices, PHP, Oracle, MySQL, SQLServer, Web Hosting, Website Development, and IAM(ForgeRock) Specialist
I am a self-learner and passionate about training and writing. I am always trying my best to share my knowledge through my blog.